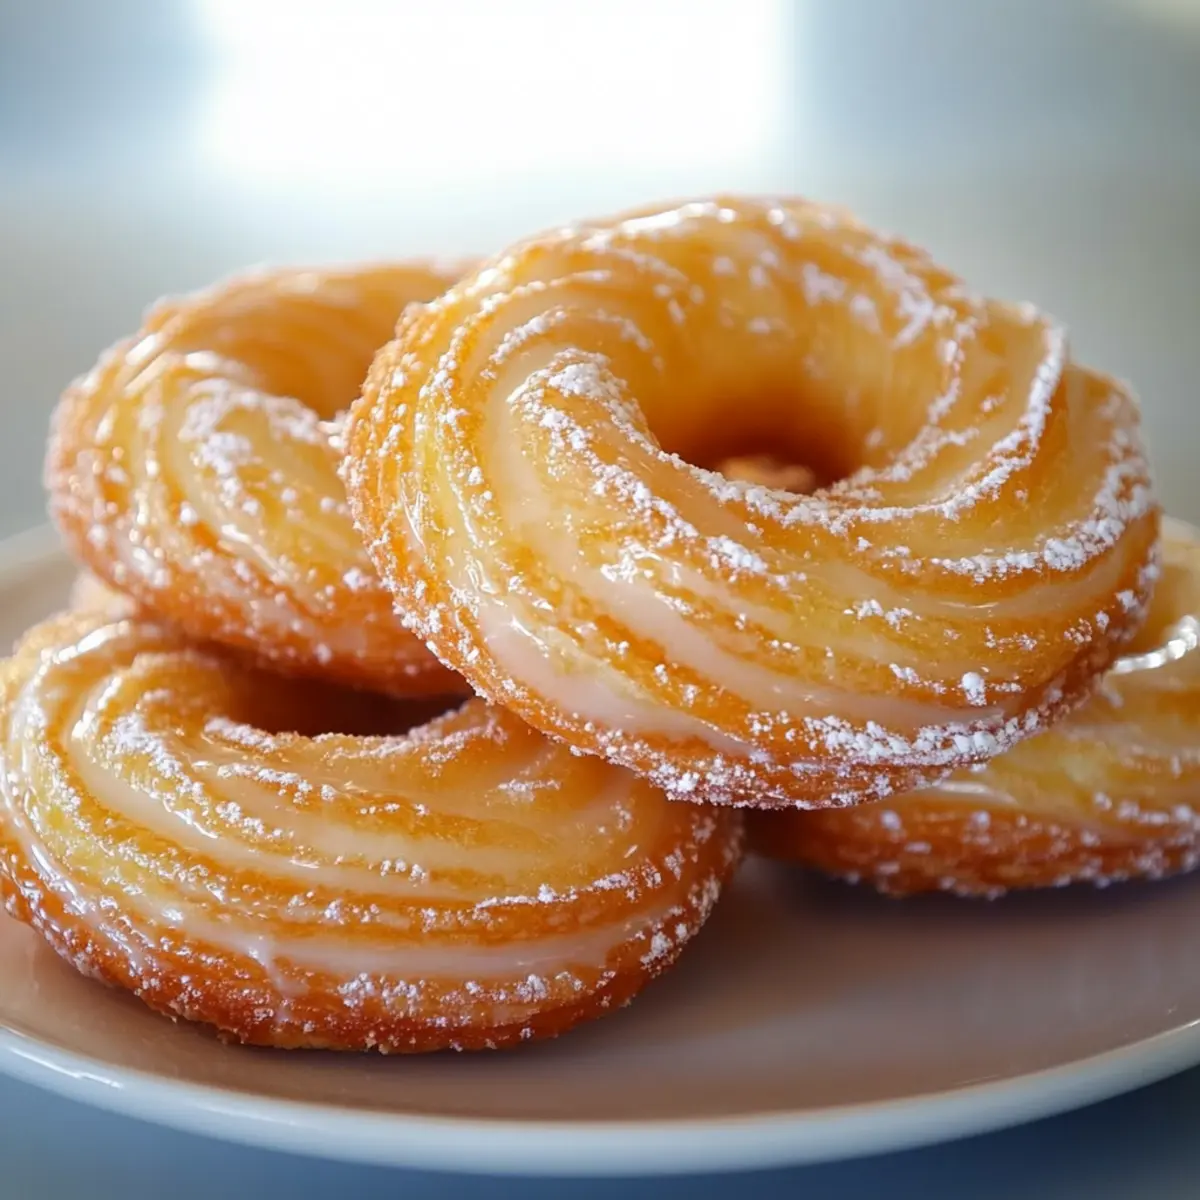
There’s something utterly delightful about the idea of fresh, warm French crullers, glistening with sweet glaze and begging to be devoured. The moment you take a bite into one of these fluffy donuts, you’ll taste the buttery richness melded with a touch of vanilla, perfectly paired with that crispy exterior. It’s as if every single doughy ring sings, “Eat me, I’m delicious!” Now, if you’re anything like me, you probably have a memory or two tied to these beauties—like that time you treated yourself to breakfast at a charming café or the sweet indulgence after a long week. Picture this: rainy Sunday mornings when the aroma from the oven wraps around you like a cozy blanket, and everything feels right in the world.
Jump to:
- <strong>Ingredients for French Crullers</strong>
- <strong>How to Make French Crullers</strong>
- <strong>Perfecting French Crullers Cooking Process</strong>
- <strong>Add Your Touch to French Crullers</strong>
- <strong>Storing & Reheating French Crullers</strong>
- FAQs About French Crullers
- What are French Crullers?
- How do you store French Crullers?
- Can you customize French Crullers?
- Are French Crullers difficult to make?
- Conclusion for French Crullers
By the end of this adventure, you’ll not only know how to make French crullers, but you’ll also be serving them fresh from your own kitchen, showcasing your culinary prowess to anyone within earshot. With the promise of fluffy goodness and sticky glaze, who wouldn’t want to join you at the table?
Why You'll Love This French Crullers
- This incredible French cruller transforms simple everyday ingredients into restaurant-quality flavors that will blow your mind completely.
- Foolproof recipe techniques guarantee perfect results every single time, making even novice cooks feel like professional chefs instantly.
- Stunning visual appeal with gorgeous colors and mouthwatering aromas creates the ultimate Instagram-worthy dish for any special occasion.
- Endlessly adaptable for different dietary needs while working beautifully for meal prep, date nights, or entertaining large groups effortlessly.
Ingredients for French Crullers
Here’s what you’ll need to make this delicious French crullers:
1 cup warm milk – A cozy bath for the yeast, warmed to 105-115°F for that perfect rise.
2 1/4 teaspoons active dry yeast – Essential for fluffy texture and delightful flavor; make sure it’s fresh for best results.
1/4 cup granulated sugar – Sweetness that balances the flavors; adjust based on your sweet tooth.
1 large egg – Adds richness and binds everything together for a delicate texture.
1/4 cup unsalted butter, melted – This butter carries that rich flavor throughout your crullers and gives them a tender crumb.
1 teaspoon vanilla extract – The secret weapon for aromatic sweetness that takes these donuts to the next level.
2 1/2 cups all-purpose flour – The base of our beautiful dough; sifted for a lighter result.
1/2 teaspoon salt – Enhances the sweet flavor and balances the dough.
1 cup powdered sugar – For the heavenly glaze that brings your crullers from good to absolutely mouthwatering.
1-2 tablespoons milk – Helps create the perfect glaze consistency; add as needed.
1/4 teaspoon vanilla extract – A touch more for the glaze to tie everything together.
How to Make French Crullers
Follow these simple steps to prepare this delicious French crullers:
Step 1: Activate the Yeast
In a small bowl, combine warm milk, yeast, and sugar. Stir gently and let it stand for about 5 minutes or until it becomes foamy. This is where the magic begins!
Step 2: Mix the Wet Ingredients
In a large bowl, whisk together the egg, melted butter, and vanilla extract until well combined. The aroma at this stage will make you eager to proceed.
Step 3: Combine the Mixtures
Add the yeast mixture to the egg mixture and stir to combine thoroughly. You’ll notice it beginning to bubble up a bit—it’s like a little celebration in your bowl!
Step 4: Create the Dough
In a separate bowl, whisk together the flour and salt. Gradually introduce the dry ingredients into the wet mixture, stirring until a smooth dough forms. If it feels a bit sticky, that’s okay! You’ve got this.
Step 5: Knead and Rest
Turn the dough out onto a lightly floured surface and knead for 5-7 minutes until it’s smooth and elastic. Place the dough in a greased bowl, cover it with plastic wrap, and let it rise in a warm place for about an hour, or until it’s doubled in size.
Step 6: Shape the Crullers
After punching down the dough, divide it into 12 equal pieces. Roll each piece into a long, thin rope. Twist the rope into a cruller shape and place it on an ungreased baking sheet. Let the donuts rise again for about 30 minutes until they grow to fluffy perfection.
Now that your crullers are ready, preheat the oven to 375°F (190°C).
Once preheated, bake those beauties for about 15-20 minutes until they turn golden brown. The aroma wafting through your kitchen will be tempting enough to have your neighbors knocking at your door.
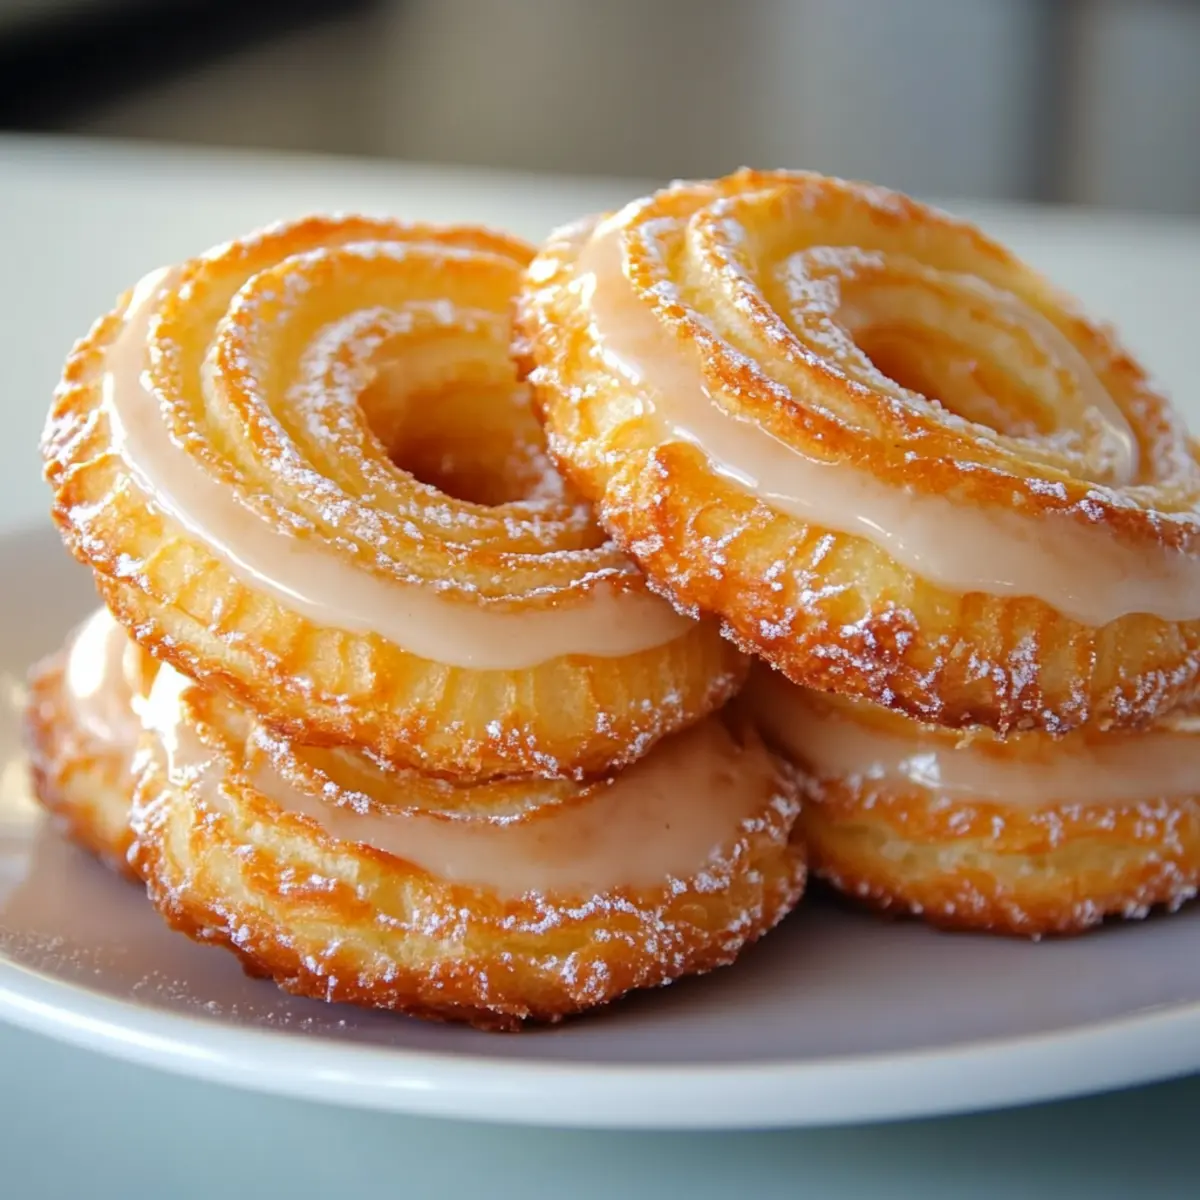
Let your crullers cool on a wire rack for a few minutes. As they cool, whisk together the powdered sugar, milk, and vanilla extract until smooth, creating that irresistible glaze. Dip the cooled donuts into the glaze and let them set before serving.
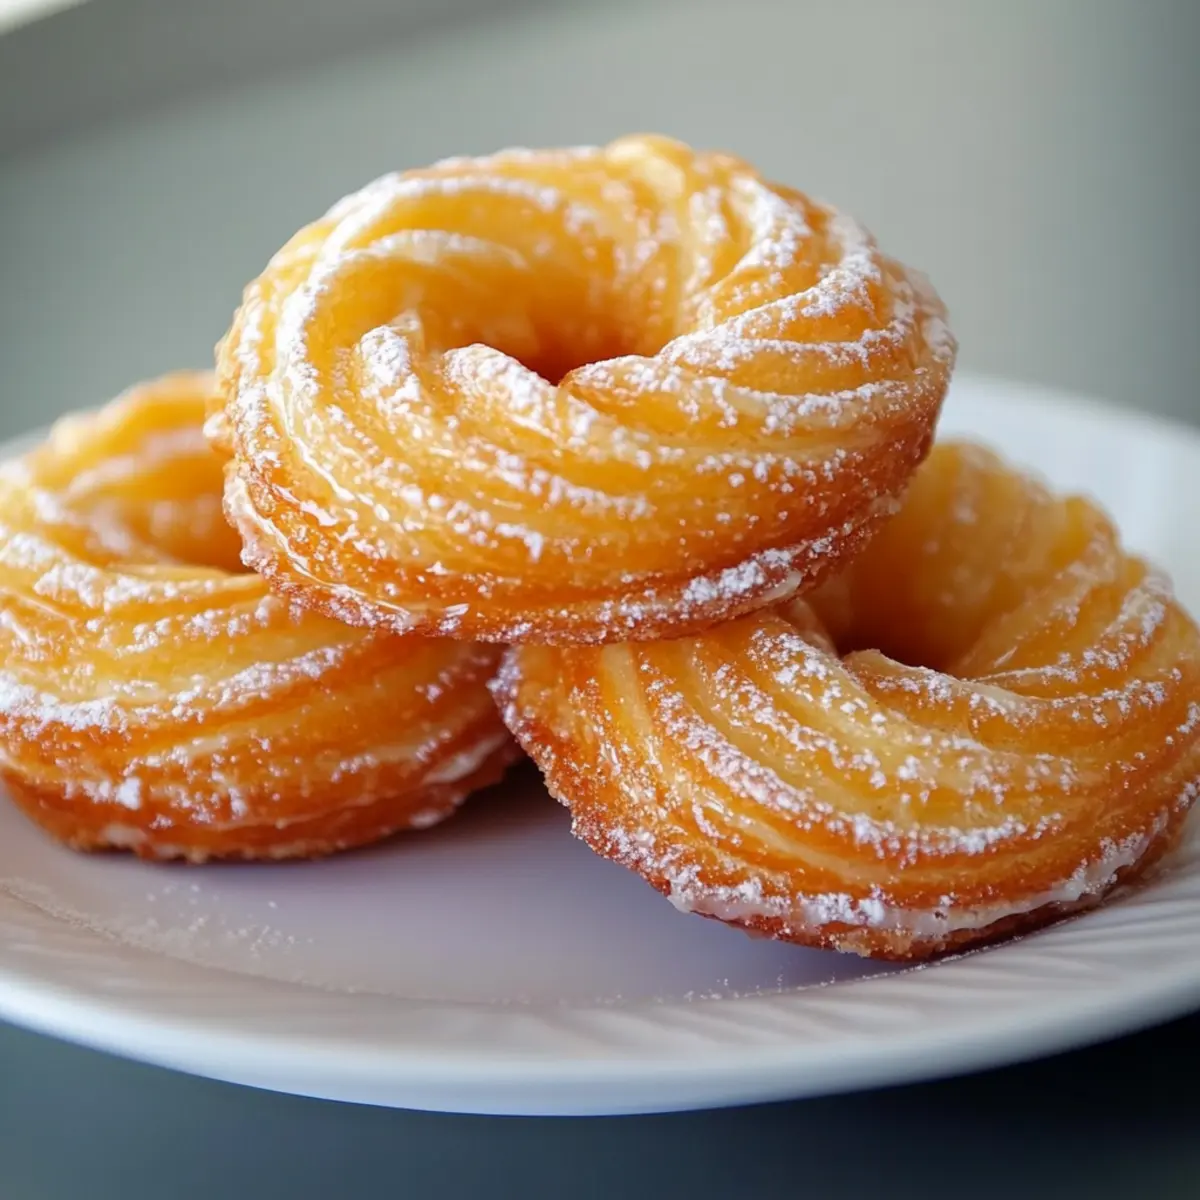
A sprinkle of powdered sugar on top is always a good idea—extra loveliness for your plate. Now, grab a cup of coffee or tea, sit back, and enjoy the fruits of your labor. Each bite of these French crullers is bound to transport you to a state of sweet bliss. Enjoy!
This showstopping French Crullers delivers restaurant-quality results using simple ingredients you probably already have at home. The perfect balance of textures and flavors creates an unforgettable dining experience that will have everyone asking for seconds. Picture-perfect presentation with vibrant colors makes this dish absolutely Instagram-worthy and guaranteed to impress any dinner guest. Incredibly versatile recipe that works beautifully for weeknight dinners, meal prep, special occasions, or even outdoor entertaining sessions.
Perfecting French Crullers Cooking Process
Start by activating the yeast as you prepare the wet ingredients. Next, mix the dry ingredients before gradually combining them to create a smooth dough. Finally, allow the dough to rise properly for the best texture before shaping your crullers.
Add Your Touch to French Crullers
Feel free to play around with flavors! Consider adding a hint of citrus zest for brightness or experimenting with different glazes like chocolate or maple. You can also mix in sprinkles or finely chopped nuts for an extra crunch.
Storing & Reheating French Crullers
Keep your French Crullers in an airtight container at room temperature for up to two days. For longer storage, refrigerate for up to a week. To reheat, simply pop them in the oven for a few minutes to revive that freshly baked texture.
Chef's Helpful Tips for French Crullers
- This professional-quality French Crullers rely on precise timing and temperature control to achieve restaurant-standard results consistently.
- Master the art of mise en place by prepping all ingredients beforehand, ensuring smooth execution and preventing any last-minute cooking disasters.
- The secret lies in layering flavors throughout the cooking process rather than seasoning only at the end for maximum depth.
- Pro tip: let the finished dish rest for optimal texture and flavor development before serving to hungry guests waiting eagerly.
One time, I surprised my family by baking a batch of these French Crullers for brunch. Their delighted faces and compliments made the effort so worth it, and I still chuckle thinking about my brother trying to steal one before they were even glazed!
FAQs About French Crullers
What are French Crullers?
French Crullers are airy, twisted donuts that boast a light and fluffy texture, thanks to a dough enriched with yeast. Traditionally, they are a beloved breakfast treat, often glazed for added sweetness. Their unique shape—a spiraled twist—makes them not only delicious but visually appealing. Created from a simple combination of ingredients like flour, milk, sugar, and eggs, these donuts have a delightful taste that can satisfy any sweet tooth. Perfect for brunch or snack-time, French Crullers are sure to impress family and friends alike!
How do you store French Crullers?
To keep your French Crullers fresh, place them in an airtight container at room temperature for up to two days. If you want to extend their life, refrigerate them for up to a week. Just be mindful that refrigeration may alter their texture slightly. To revive the delightful freshness, simply reheat the crullers in the oven at a low temperature for a few minutes, restoring their crispy exterior and soft interior.
Can you customize French Crullers?
Absolutely! One of the best things about French Crullers is their versatility. You can infuse the dough with flavored extracts such as almond or lemon for extra zing. Another fun idea is to top them with various glazes—think chocolate, maple, or even espresso! Additions like sprinkles, nuts, or even a dusting of cinnamon can give your crullers a personal touch. Experimenting with these elements can make your crullers uniquely yours!
Are French Crullers difficult to make?
While they may seem fancy, making French Crullers is quite manageable for home bakers. The process involves simple steps like mixing, kneading, and twisting the dough. The yeast does the heavy lifting, providing that fluffy texture while you focus on the fun part—shaping them! With a bit of practice and patience, you’ll find that homemade French Crullers are well within reach and absolutely rewarding to create.
Conclusion for French Crullers
French Crullers are a delightful treat that combines simplicity with elegance. With a light, airy texture and the potential for creative customization, these donuts are perfect for any occasion, whether it’s a casual breakfast or a special gathering. By following the steps outlined in the recipe, you can enjoy the satisfying experience of making your own French Crullers at home. Their delicious taste and beautiful presentation will surely impress anyone who gets a taste!
Baked French Cruller Donuts
Ingredients
Equipment
Method
- In a small bowl, combine warm milk, yeast, and sugar. Let stand for 5 minutes, or until foamy.
- In a large bowl, whisk together the egg, melted butter, and vanilla extract.
- Add the yeast mixture to the egg mixture and stir to combine.
- In a separate bowl, whisk together the flour and salt. Gradually add the dry ingredients to the wet ingredients, mixing until a dough forms.
- Turn the dough out onto a lightly floured surface and knead for 5-7 minutes, or until smooth and elastic.
- Place the dough in a greased bowl, cover with plastic wrap, and let rise in a warm place for 1 hour, or until doubled in size.
- Punch down the dough and divide it into 12 equal pieces. Roll each piece into a long, thin rope.
- Twist the rope into a cruller shape and place it on an ungreased baking sheet. Repeat with the remaining dough.
- Let the donuts rise for 30 minutes, or until doubled in size.
- Preheat oven to 375°F (190°C).
- Bake the donuts for 15-20 minutes, or until golden brown.
- Let the donuts cool on a wire rack for a few minutes.
- In a small bowl, whisk together the powdered sugar, milk, and vanilla extract until smooth.
- Dip the cooled donuts into the glaze and let them set before serving.