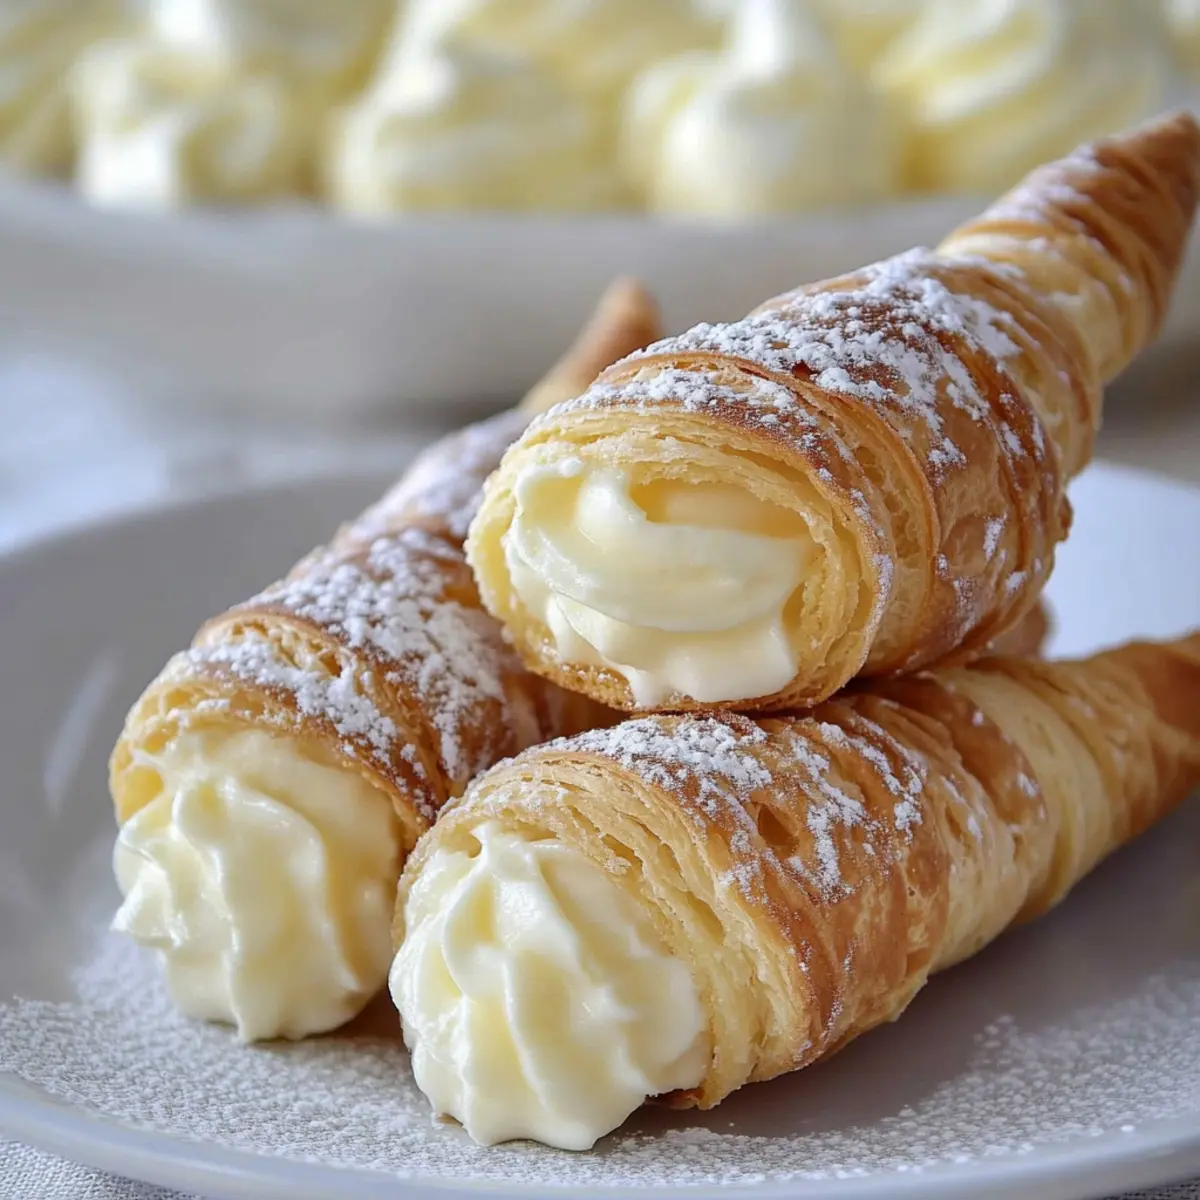
The irresistible allure of creamy pastries knows no boundaries, especially when it comes to the delightful sensation of Cream Puff Cones. Imagine taking a bite into a delicate, golden shell, revealing a silky smooth custard that dances on your palate like a sweet serenade. These Italian Cream Stuffed Cannoncini are not just desserts; they’re a celebration of flavor that transports you straight to a quaint Italian café, with every mouthful promising pure indulgence.
Jump to:
- <strong>Ingredients for Cream Puff Cones</strong>
- <strong>How to Make Cream Puff Cones</strong>
- <strong>Perfecting Cream Puff Cones Cooking Process</strong>
- <strong>Add Your Touch to Cream Puff Cones</strong>
- <strong>Storing & Reheating Cream Puff Cones</strong>
- FAQs About Cream Puff Cones
- What are Cream Puff Cones?
- How can I make Cream Puff Cones ahead of time?
- Can I customize the filling for Cream Puff Cones?
- What is the best way to store leftover Cream Puff Cones?
- Conclusion for Cream Puff Cones
Picture this: you’re hosting a gathering, and the anticipation builds as pots and pans clang in the kitchen. Guests wander in, their noses twitching with curiosity as they catch the heavenly scent wafting through the air. You unveil a platter of these Cream Puff Cones, and suddenly you’re the culinary superstar of the evening. Everyone’s eyes light up, and as you take a bite together, laughter and joy envelop the room. This is more than a treat; it’s an experience filled with sweet memories.
Why You'll Love This Cream Puff Cones
- This incredible Cream Puff Cones transforms simple everyday ingredients into restaurant-quality flavors that will blow your mind completely.
- Foolproof recipe techniques guarantee perfect results every single time, making even novice cooks feel like professional chefs instantly.
- Stunning visual appeal with gorgeous colors and mouthwatering aromas creates the ultimate Instagram-worthy dish for any special occasion.
- Endlessly adaptable for different dietary needs while working beautifully for meal prep, date nights, or entertaining large groups effortlessly.
Ingredients for Cream Puff Cones
Here’s what you’ll need to make this delicious Cream Puff Cones:
3 egg yolks – These will give richness and a velvety texture to your custard cream. Fresh eggs work best for a fluffy filling.
3 tablespoons all-purpose flour – This helps thicken the custard for that perfect creamy consistency. Use a fine flour for best results.
1/2 cup sugar – Sweetens the custard, balancing the flavors. You can adjust the sweetness according to your preference.
1 teaspoon vanilla extract – Adds a warm, aromatic flavor to the custard. Opt for pure vanilla for the best taste.
8 oz milk – Whole milk creates a richer, creamier filling. You could use 2% milk, but the flavor might be less intense.
1 sheet puff pastry – The star ingredient for our cone shape; choose a high-quality brand for flaky layers.
1/4 cup sugar – Used for sprinkling on the pastry to create that delightful caramelized crust.
1 egg (for egg wash) – Gives the pastry a beautiful, golden finish after baking. Make sure to whisk it well.
Powdered sugar – For a dreamy dusting that finishes off your Cream Puff Cones with charm and sweetness.
How to Make Cream Puff Cones
Follow these simple steps to prepare this delicious Cream Puff Cones:
Step 1: Prepare the Custard
Begin by warming the milk in a saucepan over medium heat until it’s hot but not boiling.
Step 2: Whisk Together the Ingredients
In a mixing bowl, whisk the egg yolks with sugar, vanilla extract, and flour until the mixture is light and fluffy.
Step 3: Combine Milk and Egg Mixture
Gradually incorporate the hot milk into the egg mixture, whisking continuously to avoid lumps.
Step 4: Heat and Thicken the Custard
Pour the mixture back into the saucepan and cook over medium heat, stirring constantly until it thickens to a custard-like consistency. This should take a couple of minutes.
Step 5: Chill the Custard
Transfer the custard to a glass bowl, cover it with plastic wrap, and refrigerate for at least one hour to let it cool and firm up.
Step 6: Prepare the Puff Pastry
Preheat your oven to 400°F (200°C). On a lightly sugared countertop, roll out the defrosted puff pastry into a rectangle about 9 by 12 inches. Cut it into 12 strips, each about 1 inch wide.
Step 7: Shape the Cones
Roll each strip around a conical horn mold, overlapping them slightly. Place the seams side down on a lined baking sheet.
Step 8: Add Finishing Touches and Bake
Whisk the egg with a tablespoon of water and brush this mixture lightly on the pastry cones. Bake for 15 to 20 minutes until they are golden brown.
Step 9: Cool and Fill
Once baked, allow them to cool for a few minutes, then remove gently from the molds. Fill each cone with your chilled custard using a piping bag.
Step 10: Serve
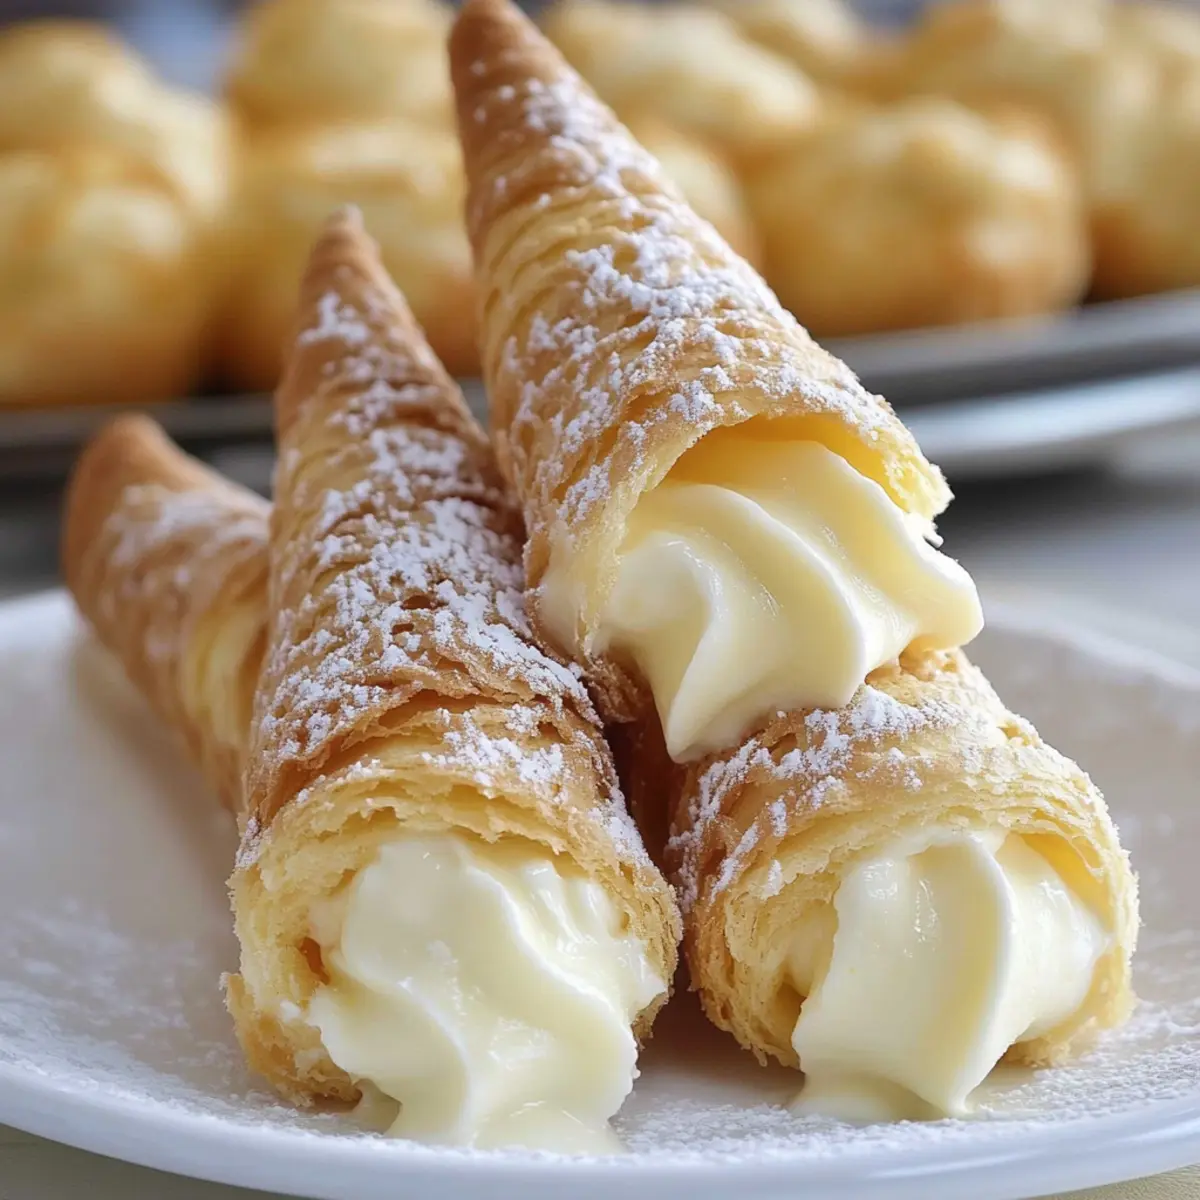
Dust the filled cones with powdered sugar before serving for that extra touch of elegance. Enjoy the indulgence with friends and family, and watch their faces light up!
These Cream Puff Cones are not just a dessert—they’re a sweet tradition waiting to be made. Enjoy the process, share the laughter, and don’t forget to snap that perfect picture before devouring!
You Must Know About Cream Puff Cones
- This showstopping Cream Puff Cones delivers restaurant-quality results using simple ingredients you probably already have at home.
- The perfect balance of textures and flavors creates an unforgettable dining experience that will have everyone asking for seconds.
- Picture-perfect presentation with vibrant colors makes this dish absolutely Instagram-worthy and guaranteed to impress any dinner guest.
- Incredibly versatile recipe that works beautifully for weeknight dinners, meal prep, special occasions, or even outdoor entertaining sessions.
Perfecting Cream Puff Cones Cooking Process
Start by preparing the custard filling, allowing it ample time to chill. While it cools, roll out the puff pastry and shape it around the molds. This sequence dramatically reduces stress in the kitchen and ensures your Cream Puff Cones come out perfect.
Add Your Touch to Cream Puff Cones
Feel free to swap the vanilla extract for almond for a nutty twist! You can also add a pinch of cinnamon or cocoa powder to the cream for an exotic flair. Don’t hesitate to stuff your Cream Puff Cones with fresh fruits or flavored marshmallow creams.
Storing & Reheating Cream Puff Cones
Store leftover Cream Puff Cones in an airtight container in the fridge, ideally unfilled. For reheating, place them in the oven at 350°F for a few minutes until they’re warmed through—this way, you’ll keep their delightful crunch.
Chef's Helpful Tips for Cream Puff Cones
- This professional-quality Cream Puff Cones relies on precise timing and temperature control to achieve restaurant-standard results consistently.
- Master the art of mise en place by prepping all ingredients beforehand, ensuring smooth execution and preventing any last-minute cooking disasters.
- The secret lies in layering flavors throughout the cooking process rather than seasoning only at the end for maximum depth.
- Pro tip: let the finished dish rest for optimal texture and flavor development before serving to hungry guests waiting eagerly.
Sometimes, I whip up a batch of these Cream Puff Cones for family gatherings, and the joy on their faces is priceless. My cousin once declared it “the best dessert ever,” and believe me, that’s high praise from someone who bakes professionally!
FAQs About Cream Puff Cones
What are Cream Puff Cones?
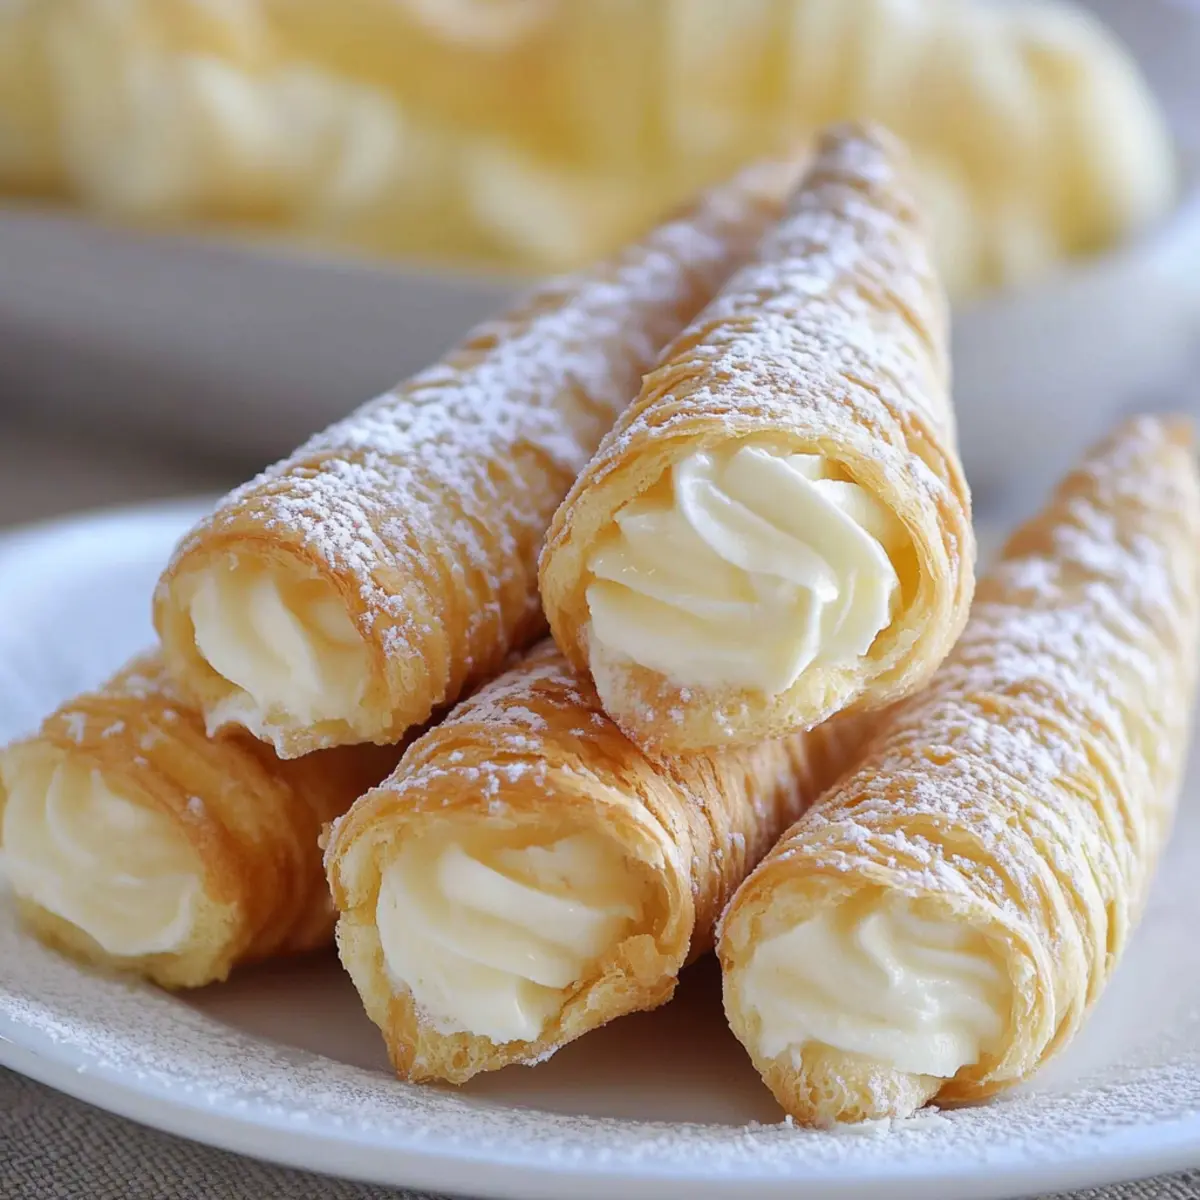
Cream Puff Cones are delightful pastry treats inspired by the Italian recipe known as cannoncini. These pastries feature a light and flaky puff pastry wrapped around conical molds and filled with a luscious custard cream. They offer a wonderful balance of texture with a crispy exterior and a creamy interior. Not only are they delicious, but they are also versatile enough to be customized with different flavors, making them an impressive dessert for any occasion.
How can I make Cream Puff Cones ahead of time?
You can prepare Cream Puff Cones ahead of time by making the puff pastry cones and the custard cream separately. After baking the pastry cones, allow them to cool completely before storing them in an airtight container. The custard cream can also be made a day in advance and stored in the refrigerator. Just fill the cones right before serving to maintain their crispiness. This arrangement is perfect for reducing stress during gathering, allowing you to enjoy time with family and friends.
Can I customize the filling for Cream Puff Cones?
Absolutely! One of the fantastic aspects of Cream Puff Cones is their versatility. You can customize the filling to suit your taste. Consider adding flavored extracts like almond or hazelnut for a nutty twist. You might also want to include fresh fruits, chocolate ganache, or flavored whipped creams. The possibilities are endless, giving you the opportunity to create a unique dessert tailored to your preferences.
What is the best way to store leftover Cream Puff Cones?
To preserve leftover Cream Puff Cones, it’s best to store them unfilled in an airtight container at room temperature. If you’ve already filled them with cream, place them in the refrigerator but consume them within a day for optimal freshness. Reheat unfilled cones in the oven at 350°F for a few minutes to restore their crispness before enjoying them again. Proper storage will help maintain their delightful texture and flavor, ensuring they stay delicious days after preparation.
Conclusion for Cream Puff Cones
Cream Puff Cones are a wonderful dessert that combines a flaky puff pastry exterior with a creamy custard interior. The versatility of fillings allows you to tailor them to any taste or occasion. Whether you are following a traditional recipe or putting a unique spin on it, these delightful treats are sure to impress. Remember, the secret to perfect Cream Puff Cones lies in the baking and filling methods. Enjoy creating and savoring these delectable pastries, and share the joy with family and friends!
Italian Cream Stuffed Cannoncini
Ingredients
Equipment
Method
- Warm up the milk until hot (not boiling).
- In a medium sized pan, whisk the egg yolks with the sugar, vanilla extract, and flour until light and fluffy.
- Add the milk gradually while whisking, ensuring there are no lumps.
- Place the pan over medium heat and stir continuously until it reaches a slow boil. Cook until the cream thickens, about a couple of minutes more.
- Pour the cream into a glass bowl, cover with plastic wrap, and let it cool. Refrigerate for at least one hour.
- Preheat the oven to 400°F (200°C).
- Sprinkle sugar on the counter and on top of the puff pastry, then roll it out to a rectangle about 9 by 12 inches.
- Cut the pastry into 12 strips (about 1 inch thick).
- Roll each strip onto a conical horn mold, overlapping each strip by about half the length.
- Place on a baking sheet lined with parchment paper with the seam side down.
- Beat one egg with one tablespoon of water, then brush each pastry cone lightly with the egg wash, avoiding the mold.
- Bake at 400°F (200°C) for about 15-20 minutes until golden on top.
- Let them cool for a couple of minutes, then gently remove from the mold.
- Fill with cream using a piping bag before serving. Sprinkle with powdered sugar if desired.