There’s something magical about a classic peanut butter and jelly sandwich that takes us back to our childhood. The moment you bite into a DIY Coffin Sandwich, you’ll be greeted with the creamy embrace of peanut butter, the tangy sweetness of grape jelly, and a delightful crunch from the fresh banana slices. Each bite transports you to simpler times, where the flavor combination sparks joy and nostalgia.
Jump to:
- <strong>Ingredients for DIY Coffin Sandwiches</strong>
- <strong>How to Make DIY Coffin Sandwiches</strong>
- <strong>Perfecting DIY Coffin Sandwiches Cooking Process</strong>
- <strong>Add Your Touch to DIY Coffin Sandwiches</strong>
- <strong>Storing & Reheating DIY Coffin Sandwiches</strong>
- FAQs About DIY Coffin Sandwiches
- What are DIY Coffin Sandwiches?
- How do I make DIY Coffin Sandwiches?
- What variations can I try with DIY Coffin Sandwiches?
- Can I prepare DIY Coffin Sandwiches in advance?
- Conclusion for DIY Coffin Sandwiches
These sandwiches are perfect for spicing up kids’ lunchboxes, Halloween parties, or even just a quirky treat for adults who still appreciate the whimsical side of food. The unique casket shape adds a playful twist that will certainly impress your friends and family while delivering the deliciousness we all know and love. Trust me, one bite and you’ll understand why these are a must-try.
Why You'll Love This DIY Coffin Sandwiches
- This incredible DIY Coffin Sandwiches transforms simple everyday ingredients into restaurant-quality flavors that will blow your mind completely.
- Foolproof recipe techniques guarantee perfect results every single time, making even novice cooks feel like professional chefs instantly.
- Stunning visual appeal with gorgeous colors and mouthwatering aromas creates the ultimate Instagram-worthy dish for any special occasion.
- Endlessly adaptable for different dietary needs while working beautifully for meal prep, date nights, or entertaining large groups effortlessly.
Ingredients for DIY Coffin Sandwiches
Here’s what you’ll need to make this delicious DIY Coffin Sandwiches:
16 slices of bread – Soft white bread works best for a classic texture, but feel free to experiment with whole grain or gluten-free options.
9 tablespoons creamy peanut butter – Select a brand that’s smooth and spreadable. Natural varieties are healthier but may require a bit more effort to spread.
9 teaspoons grape jelly – Look for high-quality jelly for the best flavor. You can swap it for strawberry or raspberry jelly if preferred.
1 small banana – Perfectly ripe bananas offer just the right amount of sweetness and softness, enhancing the sandwich flavor beautifully.
How to Make DIY Coffin Sandwiches
Follow these simple steps to prepare this delicious DIY Coffin Sandwiches:
Step 1: Prepare the Casket Shapes
Begin by stacking two slices of bread on top of each other. Using a sharp knife, carefully cut a “casket” shape measuring roughly 4 inches by 2.5 inches from the longest side of the bread. Cut about half an inch from the corners of the top slice to create an elegant, rounded effect. Repeat this with the remaining bread slices, producing a total of eight casket shapes.
Step 2: Assemble the Sandwiches
Separate the cuts and take the bottom slice of each casket. Now, spread one tablespoon of creamy peanut butter on each of these bottom slices. Don’t be shy with the peanut butter; it’s the soul of our DIY Coffin Sandwiches.
Step 3: Add the Jelly
On top of the peanut butter, add one teaspoon of grape jelly to each sandwich. Feel free to match the jelly level to your taste. If you’re a jelly lover, go ahead and spread an extra teaspoon—the more, the merrier!
Step 4: Stack the Bananas
Next, layer three slices of banana on top of the jelly. This not only adds a new dimension of flavor but also a delightful texture. If you’re feeling adventurous, try caramelizing the banana slices beforehand for an extra flair.
Step 5: Complete the Caskets
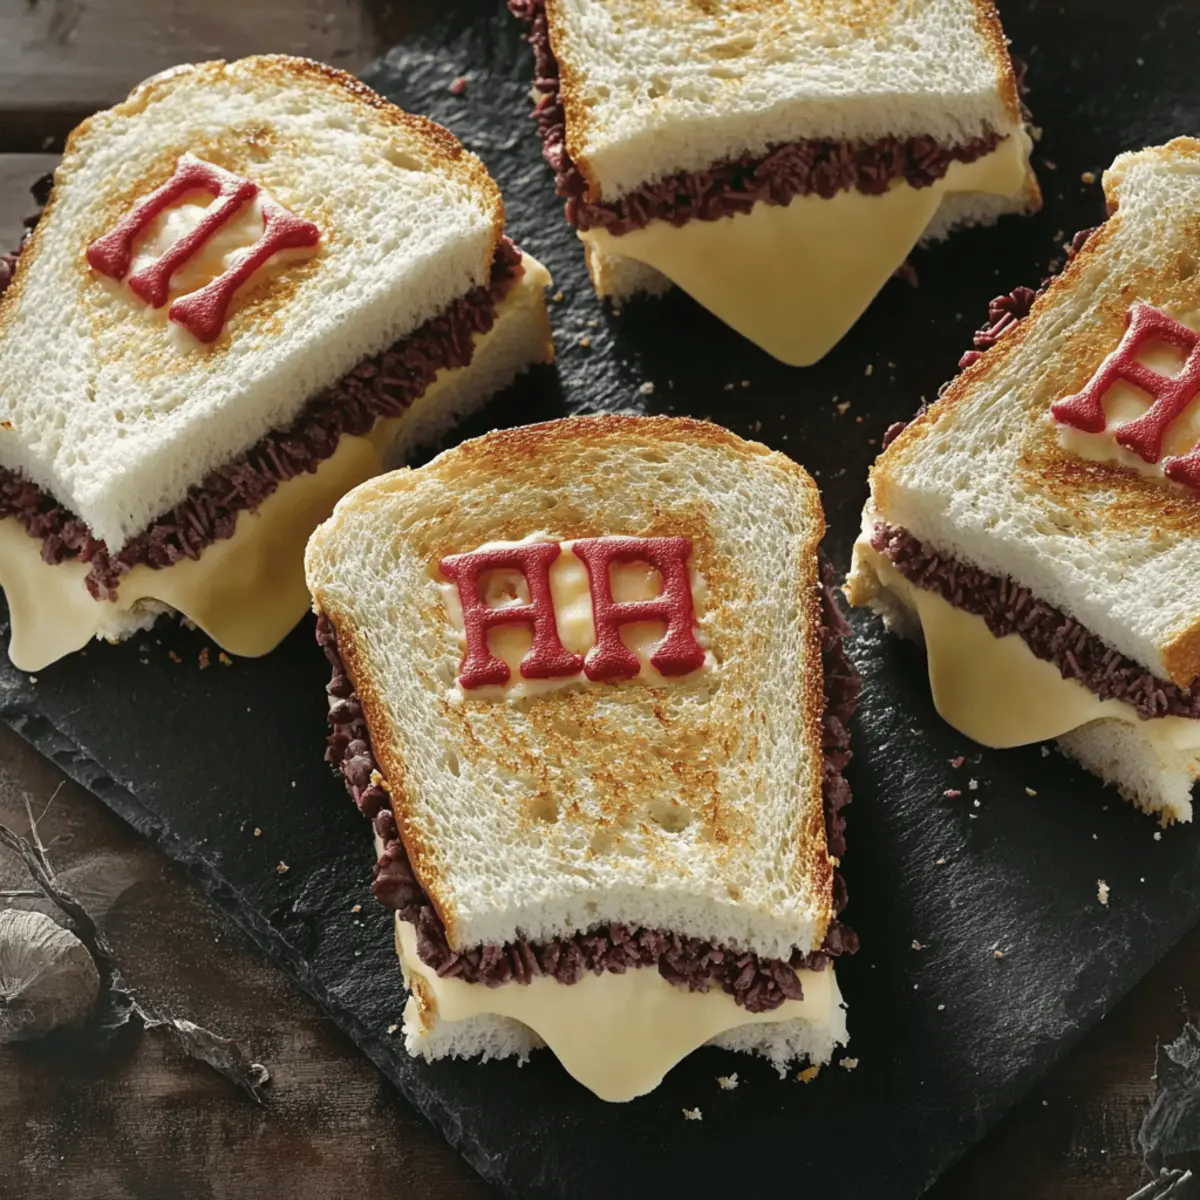
Place the top slice of the bread on each sandwich gently. Now, take the last tablespoon of peanut butter and teaspoon of jelly, mix them together in a small resealable plastic bag, and snip off a tiny corner. Squeeze out “RIP” on each casket. This final touch makes the sandwich both fun and festive.
Step 6: Chill and Serve
Cover your completed sandwiches and refrigerate them until you’re ready to serve. This short chill time allows all the flavors to blend beautifully, creating a delicious treat that will tantalize taste buds.
These DIY Coffin Sandwiches aren’t just food; they’re a delightful experience waiting to happen! Whether you’re sharing them at a picnic or indulging in a midnight snack, prepare for compliments and laughter. Serve them alongside some crisp apple slices or a cheeky Halloween punch for an unforgettable gathering with friends and family. Enjoy, and remember, it’s all in good fun—just like the nostalgia of a classic PB&J!
You Must Know About DIY Coffin Sandwiches
- This showstopping DIY Coffin Sandwiches delivers restaurant-quality results using simple ingredients you probably already have at home.
- The perfect balance of textures and flavors creates an unforgettable dining experience that will have everyone asking for seconds.
- Picture-perfect presentation with vibrant colors makes this dish absolutely Instagram-worthy and guaranteed to impress any dinner guest.
- Incredibly versatile recipe that works beautifully for weeknight dinners, meal prep, special occasions, or even outdoor entertaining sessions.
Perfecting DIY Coffin Sandwiches Cooking Process
To create the most delightful DIY Coffin Sandwiches, start by cutting the bread into perfect coffin shapes. Once that’s done, generously spread peanut butter and jelly on each slice before layering with banana slices. Top with another slice of bread, and get ready to seal the spooky vibe.
Add Your Touch to DIY Coffin Sandwiches
Feel free to mix things up! Change the jelly flavor to strawberry or raspberry, use almond or cashew butter for a twist, or add honey for extra sweetness. You can also spice things up with a sprinkle of cinnamon for an autumnal vibe.
Storing & Reheating DIY Coffin Sandwiches
Store your DIY Coffin Sandwiches in an airtight container in the refrigerator for up to two days. For a quick reheat, you can pop them in the microwave for about 10-15 seconds or enjoy them cold for a refreshing snack.
Chef's Helpful Tips for DIY Coffin Sandwiches
- This professional-quality DIY Coffin Sandwiches relies on precise timing and temperature control to achieve restaurant-standard results consistently.
- Master the art of mise en place by prepping all ingredients beforehand, ensuring smooth execution and preventing any last-minute cooking disasters.
- The secret lies in layering flavors throughout the cooking process rather than seasoning only at the end for maximum depth.
- Pro tip: let the finished dish rest for optimal texture and flavor development before serving to hungry guests waiting eagerly.
The first time I made these DIY Coffin Sandwiches was for a Halloween party, and the laughs I got from my friends when I presented them were unforgettable. Everyone just loved the spooky twist on a classic favorite!
FAQs About DIY Coffin Sandwiches
What are DIY Coffin Sandwiches?
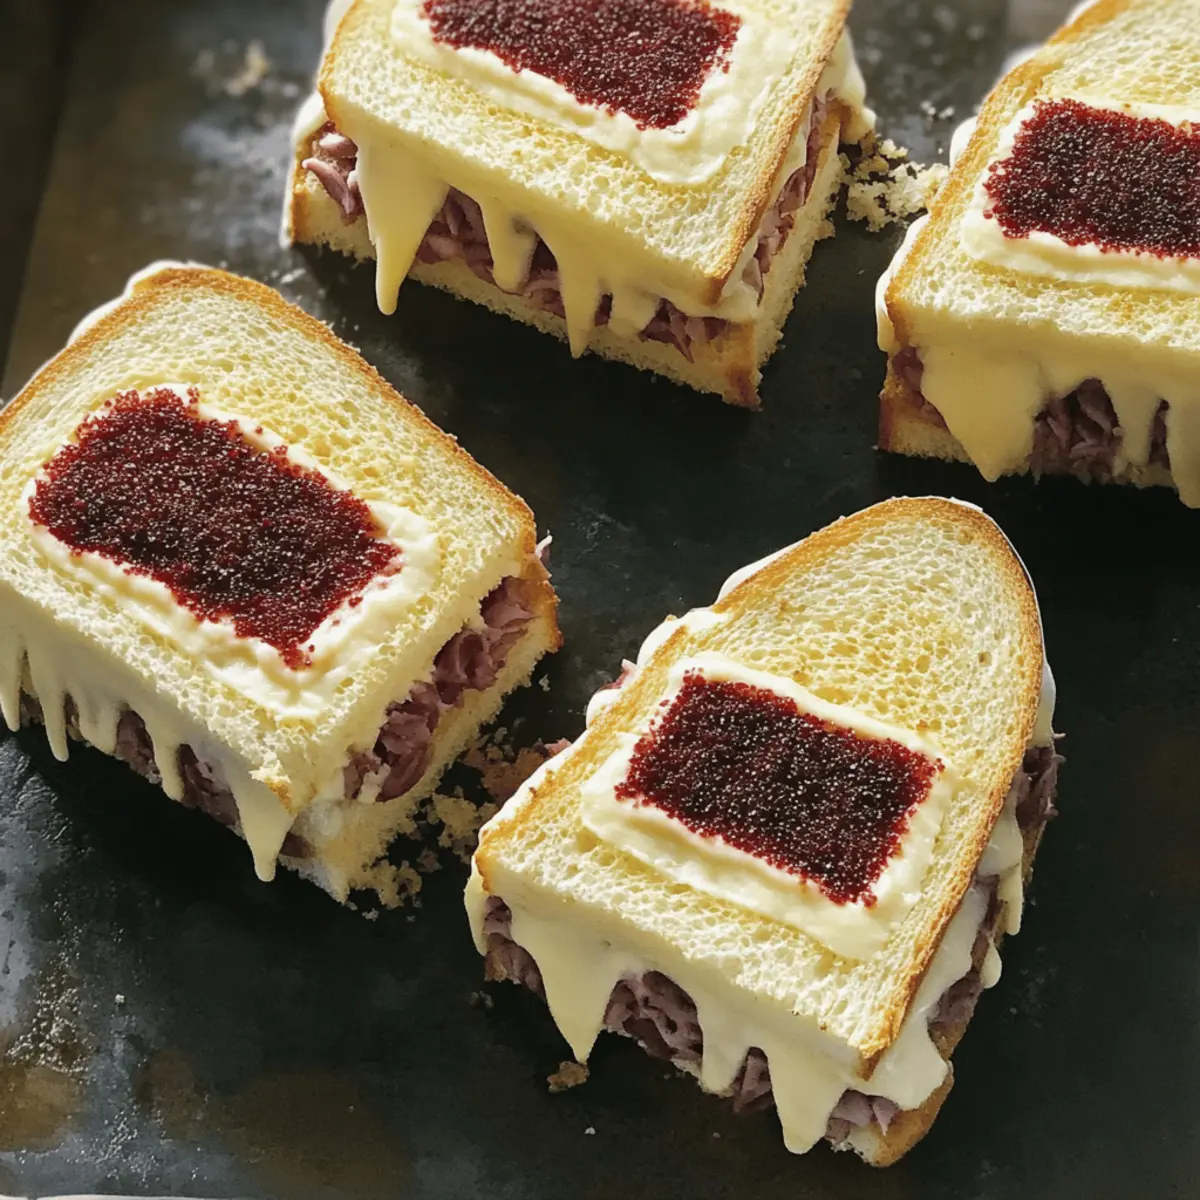
DIY Coffin Sandwiches are a whimsical take on the classic peanut butter and jelly sandwich, presented in a unique coffin shape that adds a fun and spooky flair. Perfect for Halloween parties or themed events, these sandwiches use simple ingredients—bread, creamy peanut butter, grape jelly, and banana slices. The playful design and delightful combination of flavors make them a hit among both kids and adults, turning an ordinary snack into an extraordinary treat.
How do I make DIY Coffin Sandwiches?
To prepare DIY Coffin Sandwiches, start by cutting slices of bread into coffin shapes. Spread peanut butter and jelly on each slice, layer in banana slices, and top with another coffin-shaped slice. For an added touch, use peanut butter and jelly mixture to draw RIP decorations on top. Chill in the refrigerator until you’re ready to serve. This easy-to-follow recipe ensures a fun and tasty sandwich everyone will love.
What variations can I try with DIY Coffin Sandwiches?
Feel free to customize your DIY Coffin Sandwiches to suit your tastes! Swap out grape jelly for strawberry or raspberry, and if you want a different nut butter—almond or cashew butter works beautifully. You can also add a drizzle of honey for extra sweetness or a sprinkle of cinnamon for a cozy vibe. Get creative with your fillings; it’s all about making these sandwiches suit your personal flavor palate!
Can I prepare DIY Coffin Sandwiches in advance?
Absolutely! You can make DIY Coffin Sandwiches in advance and store them in an airtight container in the refrigerator for up to two days. Just pop them in the microwave for a quick reheating session if you prefer them warm or serve them straight from the fridge for a refreshing, cool snack. They are a great option for busy days or last-minute gatherings.
Conclusion for DIY Coffin Sandwiches
DIY Coffin Sandwiches are not just a fun twist on the traditional peanut butter and jelly blend; they are a recipe that brings laughter and creativity to meal preparation. By cutting the bread into spooky shapes and adding delightful layers of flavor, you create a dish that appeals to all ages. Whether at a themed event or just for a fun snack, these DIY Coffin Sandwiches are sure to be a hit. So gather your ingredients and get ready to impress with this charming creation!

DIY Coffin Sandwiches: Fun Peanut Butter and Jelly Caskets Recipe
Ingredients
Equipment
Method
- Place 1 piece of bread on top of another. Cut 4-inch by 2 1/2-inch 'casket' shape from longest part of bread slices. Cut 1/2 inch off both corners of top of bread slice. Repeat with remaining bread slices for 8 'caskets'.
- Separate bread slices. Spread 1 tablespoon peanut butter on bottom slice of each. Top with 1 teaspoon jelly, 3 banana slices, and the top slice of bread.
- Place the remaining tablespoon peanut butter and teaspoon jelly in a small resealable food-storage plastic bag. Seal bag; gently knead to mix peanut butter and jelly. Cut 1/8 inch off 1 corner of the bag. Squeeze RIP (rest in peace) on each 'casket' sandwich. Cover and refrigerate until ready to serve.

