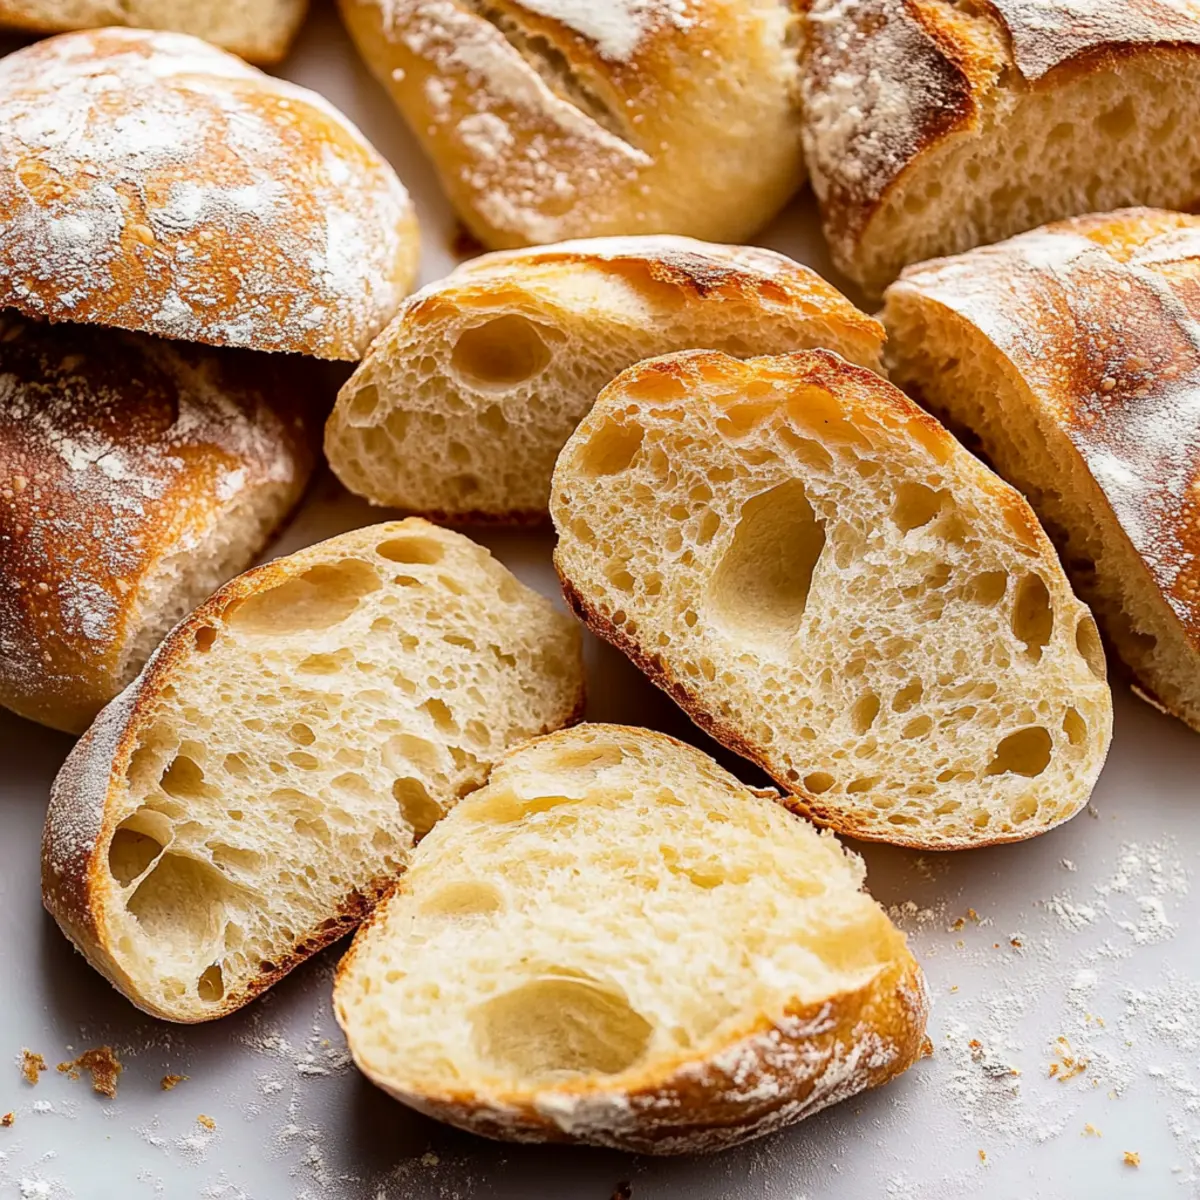
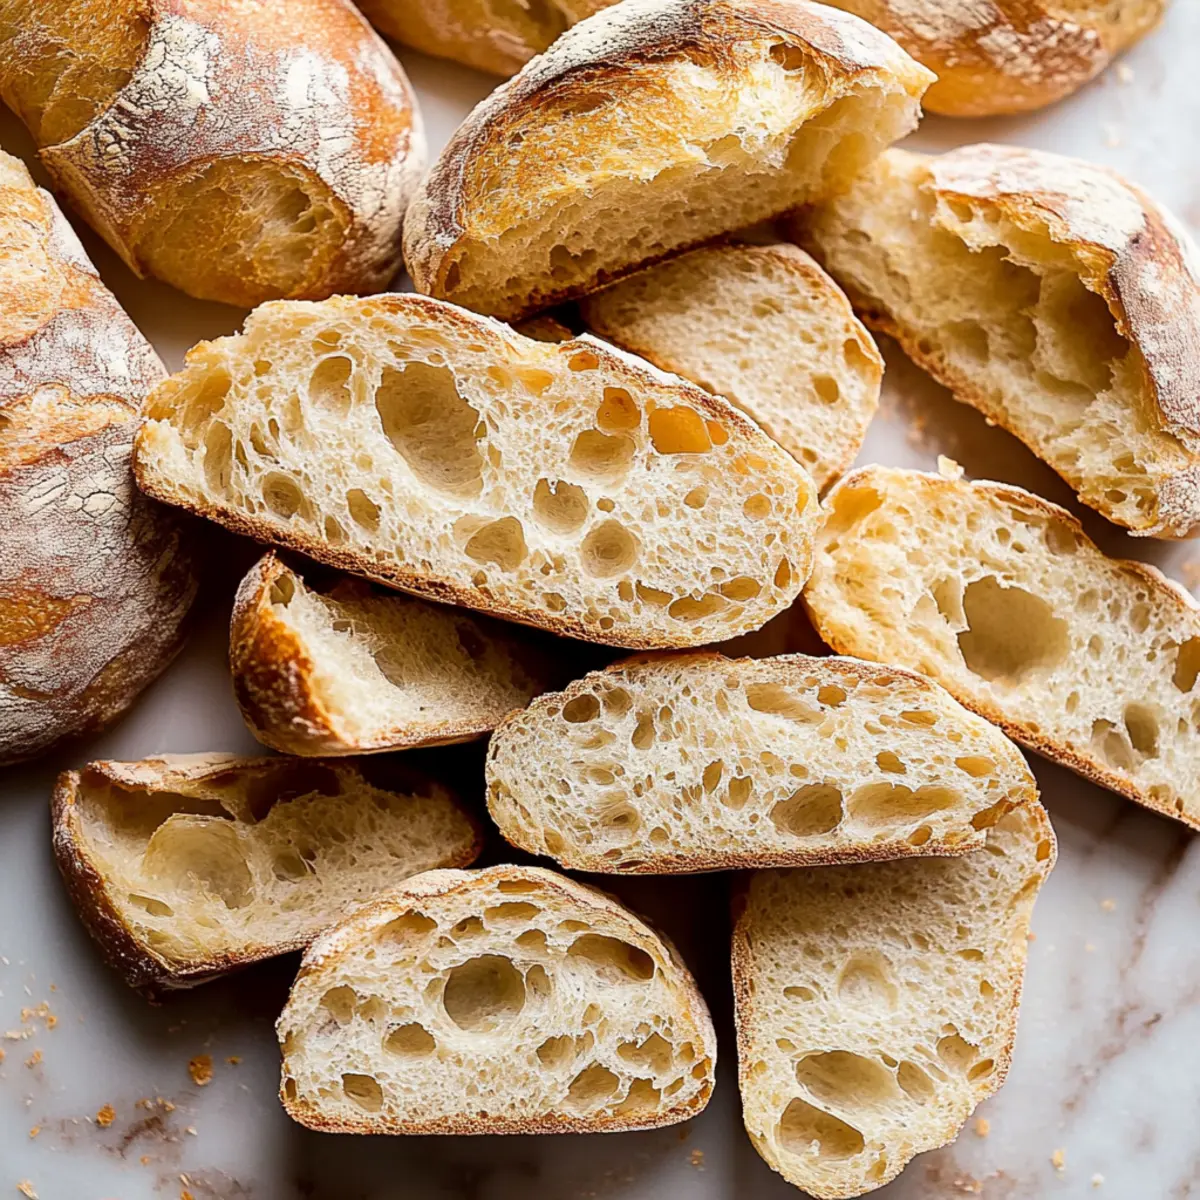
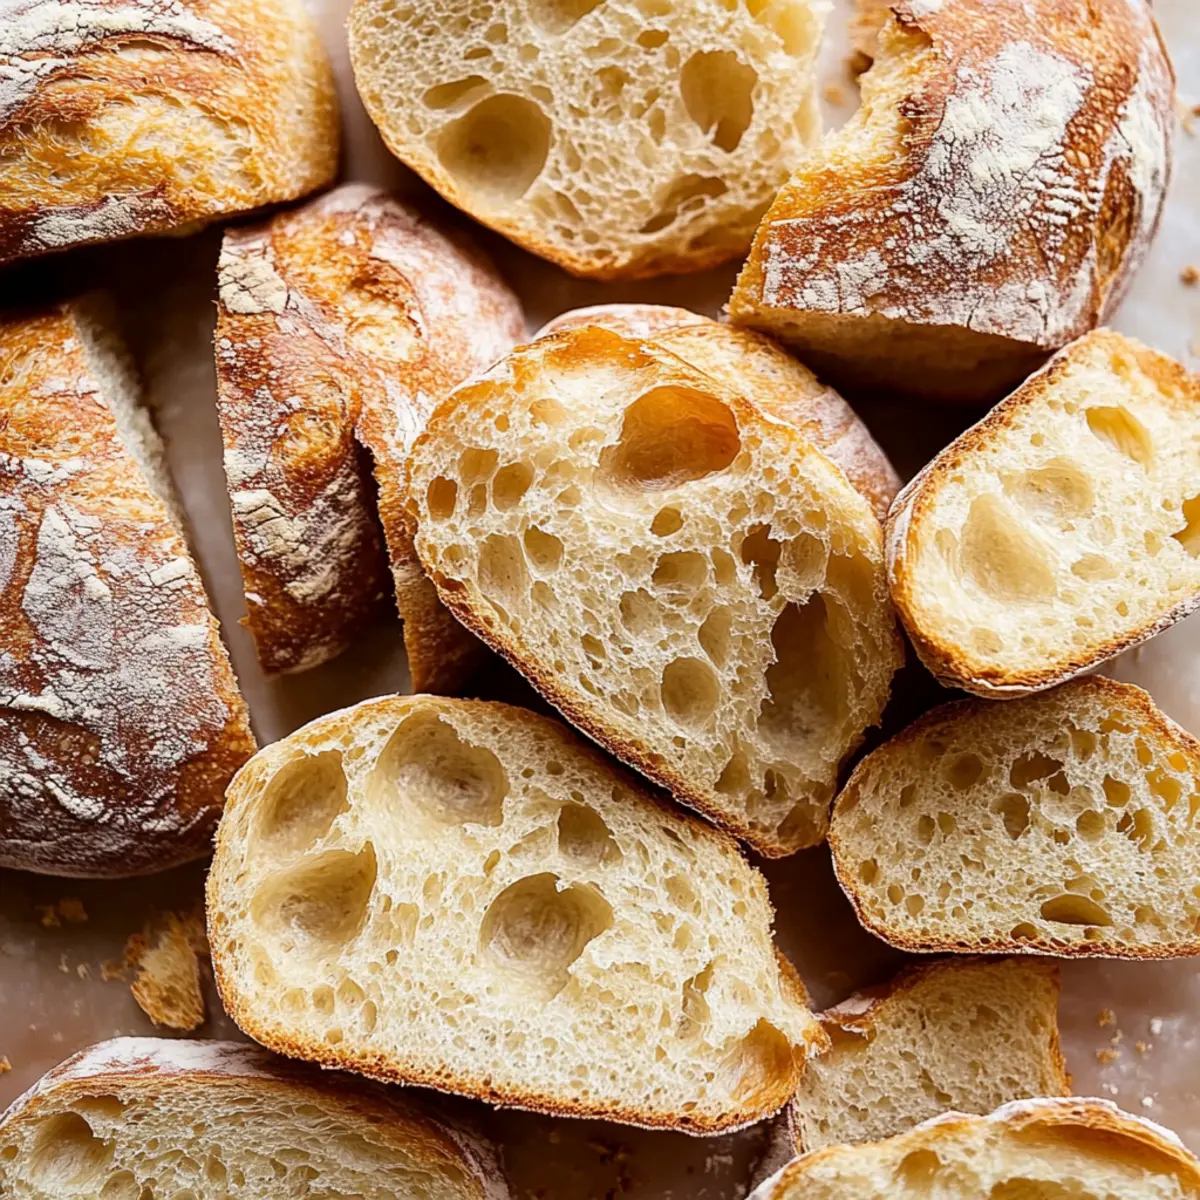
Homemade Ciabatta Bread is the comforting embrace of freshly baked bread that fills your kitchen with aromas so divine they’ll make you question why you even consider buying store-bought. With a crisp crust that crackles under your fingers and a soft, airy interior waiting to be slathered with butter or filled with savory delights, this bread truly brings together warmth and culinary excitement.
Jump to:
- <strong>Ingredients for Homemade Ciabatta Bread</strong>
- <strong>How to Make Homemade Ciabatta Bread</strong>
- <strong>Perfecting Homemade Ciabatta Bread Cooking Process</strong>
- <strong>Add Your Touch to Homemade Ciabatta Bread</strong>
- <strong>Storing & Reheating Homemade Ciabatta Bread</strong>
- FAQs About Homemade Ciabatta Bread
- What is Homemade Ciabatta Bread?
- How can I make my Homemade Ciabatta Bread extra flavorful?
- Can I freeze my Homemade Ciabatta Bread?
- What is the best way to store Homemade Ciabatta Bread?
- Conclusion for Homemade Ciabatta Bread
Imagine a Saturday morning where you can proudly present warm, homemade rolls to your family or friends. There’s something undeniably satisfying about serving up these beauties, watching smiles spread as they take the first bite. Not only does this recipe promise delightful flavors, but it’s also an opportunity to reconnect with simple, cherished traditions.
Why You'll Love This Homemade Ciabatta Bread
- This incredible Homemade Ciabatta Bread transforms simple everyday ingredients into restaurant-quality flavors that will blow your mind completely.
- Foolproof recipe techniques guarantee perfect results every single time, making even novice cooks feel like professional chefs instantly.
- Stunning visual appeal with gorgeous colors and mouthwatering aromas creates the ultimate Instagram-worthy dish for any special occasion.
- Endlessly adaptable for different dietary needs while working beautifully for meal prep, date nights, or entertaining large groups effortlessly.
Ingredients for Homemade Ciabatta Bread
Here’s what you’ll need to make this delicious Homemade Ciabatta Bread:
1 cup (130g) bread flour – This will serve as the base of your magical dough, creating the structure needed for a perfect loaf.
1/8 teaspoon active-dry or instant yeast – A small amount, but crucial for starting the fermentation process and achieving that airy texture.
1/2 cup (120g/ml) room-temperature water – This helps activate the yeast without shocking it, giving your bread the perfect rise.
1 teaspoon (3g) active-dry or instant yeast – Another yeast boost for that delightful leavening effect, ensuring tender rolls.
1 cup (240g/ml) warm water – Slightly heated water is key for dissolving the yeast and integrating flavors into the dough.
2 and 1/2 cups (325g) bread flour – More flour to build that glorious ciabatta texture we crave; feel free to use high-quality!
1 and 1/2 teaspoons (8g) table salt – Essential for flavoring; it also strengthens the dough’s gluten structure.
Olive oil – Just a touch for coating hands and tools, preventing any dough disasters from sticking.
How to Make Homemade Ciabatta Bread
Follow these simple steps to prepare this delicious Homemade Ciabatta Bread:
Step 1: Make the Biga
In a large mixing bowl, whisk together 1 cup of bread flour with 1/8 teaspoon of yeast. Once combined, add in the 1/2 cup of room-temperature water. Mix until everything is well-blended. Wrap the bowl tightly with plastic and let it rest at room temperature for 8 to 24 hours. No pressure; just let the magic happen!
Step 2: Prepare the Dough
On the day you plan to bake, uncover your biga and marvel at its bubbly glory. In a separate bowl, whisk together the 1 teaspoon of yeast and 1 cup of warm water. After 5 to 10 minutes, once the yeast has frolicked and dissolved, mix in the biga, followed by the remaining bread flour and salt. Gently mix until all the flour is moistened—this is where the fun starts, and perhaps a bit of light kneading if your dough seems reluctant.
Step 3: Give It Time
Cover the bowl again, and let your dough rest at room temperature for about 30 minutes. Grab a cup of coffee or tea and enjoy a little dance break while you wait.
Step 4: The Stretch and Fold
Coat your hands or spatula with olive oil and gently lift the dough up from 12 o’clock, stretching it toward the opposite side of the bowl. Turn the bowl 90 degrees and repeat this stretching technique until you’ve tackled the dough from all sides—about 8 folds in total. Return it to a covered state for another 30 minutes of relaxation. You’re basically giving it a spa day.
Step 5: Repeat and Chill
Give your dough three more rounds of stretching and folding, with 30-minute rests in between. After the final session, cover it up and place it in the refrigerator for at least an hour, or if you want to carry on the tradition, leave it for up to 24 hours.
Step 6: Shape Your Rolls
Once your dough is chilled and ready, generously flour your work surface. Gently scrape your dough out, treating it like a delicate treasure. Shape it into a rectangle, about 10×7 inches. Cut the dough into 8 pieces for rolls, or cut it in half to make two beautiful loaves.
Step 7: Final Rise and Bake
Place your shaped dough on a floured piece of parchment paper, giving each piece at least 2 inches of space like reserved dance partners. Sprinkle a little flour on top and cover them with a kitchen towel. Let them rest for another hour. Preheat your oven to 450°F (232°C) and set a baking sheet on the middle rack.
Step 8: The Baking Showdown
When it’s time to bake, toss a few cups of ice cubes into a shallow pan at the bottom of the oven for a steamy surprise. Uncover your rolls, give them a quick spritz of water, and quickly transfer them onto the baking sheet in the oven. Bake for 20 to 25 minutes, until they’re golden brown and sound hollow when tapped.
Transfer your rolls onto a wire rack to cool for 45 minutes, allowing that tantalizing aroma to fill your kitchen. Slicing into your beautiful ciabatta only after cooling is essential for preserving that crusty exterior. Now, go ahead and serve them warm with butter, dip them in olive oil, or use them for the ultimate sandwich! You deserve it.
Enjoy your delightful Homemade Ciabatta Bread, and remember to celebrate the small victories—like not burning the bread! Happy baking!
You Must Know About Homemade Ciabatta Bread
- This showstopping Homemade Ciabatta Bread delivers restaurant-quality results using simple ingredients you probably already have at home.
- The perfect balance of textures and flavors creates an unforgettable dining experience that will have everyone asking for seconds.
- Picture-perfect presentation with vibrant colors makes this dish absolutely Instagram-worthy and guaranteed to impress any dinner guest.
- Incredibly versatile recipe that works beautifully for weeknight dinners, meal prep, special occasions, or even outdoor entertaining sessions.
Perfecting Homemade Ciabatta Bread Cooking Process
Start your Homemade Ciabatta Bread by preparing a biga a day in advance to develop those rich flavors. The next day, gently mix your ingredients and let the dough stretch and fold—patience is key to achieving that delightful texture.
Add Your Touch to Homemade Ciabatta Bread
Feel free to experiment with your Homemade Ciabatta Bread! Add herbs like rosemary or thyme, swap out some plain flour for whole wheat, or sprinkle in cheese for extra flavor. The possibilities are endless, making it your own.
Storing & Reheating Homemade Ciabatta Bread
To store your Homemade Ciabatta Bread, keep it in a paper bag at room temperature for up to three days to maintain its crust. For reheating, simply place it in a preheated oven for a few minutes to restore that crispy exterior.
Chef's Helpful Tips for Homemade Ciabatta Bread
- This professional-quality Homemade Ciabatta Bread relies on precise timing and temperature control to achieve restaurant-standard results consistently.
- Master the art of mise en place by prepping all ingredients beforehand, ensuring smooth execution and preventing any last-minute cooking disasters.
- The secret lies in layering flavors throughout the cooking process rather than seasoning only at the end for maximum depth.
- Pro tip: let the finished dish rest for optimal texture and flavor development before serving to hungry guests waiting eagerly.
Creating my first batch of Homemade Ciabatta Bread was a revelation. My friends couldn’t believe I made those crunchy, airy rolls myself; their compliments made all the waiting worth it.
FAQs About Homemade Ciabatta Bread
What is Homemade Ciabatta Bread?
Homemade Ciabatta Bread is a rustic Italian bread known for its airy structure and crispy crust. This delightful loaf originates from the Tuscany region and is simple to make at home using basic ingredients like flour, water, yeast, and salt. Its unique texture makes it perfect for sandwiches or as an accompaniment to soups and salads. With a focus on long fermentation, Ciabatta develops rich flavors that elevate any meal. The beauty of this bread lies in its imperfection; those irregular holes and slightly burnt crusts are what make it truly special!
How can I make my Homemade Ciabatta Bread extra flavorful?
To enhance the flavor of your Homemade Ciabatta Bread, consider adding fresh herbs such as rosemary or thyme into the dough. A sprinkle of garlic or even some grated cheese can infuse your bread with depth and warmth. Remember, the magic often lies in the details, so using high-quality ingredients can make a significant difference. Additionally, incorporating a small amount of whole wheat flour can lend a nuttier flavor, while maintaining that classic Ciabatta texture.
Can I freeze my Homemade Ciabatta Bread?
Absolutely, you can freeze your Homemade Ciabatta Bread to enjoy it later. After baking and cooling the bread entirely, wrap it tightly in plastic wrap and then in aluminum foil. This double-wrapping prevents freezer burn. When you’re ready to enjoy it, simply thaw it at room temperature, or pop it in a preheated oven for a few minutes to revive its crusty exterior. Freezing extends the shelf life of your bread, allowing you to savor your baking efforts for weeks to come.
What is the best way to store Homemade Ciabatta Bread?
To keep your Homemade Ciabatta Bread fresh, store it in a paper bag at room temperature for up to three days. This method preserves the crust while keeping the inside soft. If your bread starts to lose its crunch, a quick reheat in the oven will restore its delightful crispiness. Avoid plastic bags, as they trap moisture and can make the crust soggy. If you want to store it longer than three days, freezing is the way to go, ensuring you can relish that homemade goodness anytime.
Conclusion for Homemade Ciabatta Bread
Making Homemade Ciabatta Bread is an enriching experience that combines simple ingredients with rewarding results. From preparing the biga to the final bake, patience and creativity are key. This bread not only impresses with its flavor and texture but also offers versatility for various meals. Whether you’re crafting sandwiches, enjoying it with olive oil, or sharing with friends, your Homemade Ciabatta Bread is sure to delight. So, roll up your sleeves and embark on your baking adventure; it’s time to indulge in the scrumptious goodness of this Italian classic!
Homemade Ciabatta Bread
Ingredients
Equipment
Method
- In a large mixing bowl, whisk together the bread flour and yeast. Add the room-temperature water and mix until combined. Cover the bowl tightly with plastic wrap and let rest at room temperature for 8–24 hours.
- Uncover the bowl with the biga. In a separate mixing bowl, whisk together the yeast and warm water. Cover and let sit for 5 to 10 minutes until the yeast has dissolved.
- Add the biga, the 2 and 1/2 cups bread flour, and salt. Gently mix until all the flour is moistened and the dough is uniform in texture. If needed, lightly grease your hands with olive oil and gently knead the ingredients together.
- Cover the bowl and let the dough rest for 30 minutes at room temperature.
- With greased hands or a spatula, lift up the dough at 12 o’clock and gently stretch it up, then pull it toward the opposite side of the bowl. Turn the bowl 90 degrees and repeat. Do this until you’ve gone around the bowl twice, for a total of 8 folds. Cover the bowl and let rest for 30 minutes.
- Repeat the stretch-and-fold process three more times, allowing the dough to rest for 30 minutes between each. After the 4th stretch-and-fold, cover the bowl and place it in the refrigerator for at least 1 hour and up to 24 hours.
- Generously flour your work surface. Gently scrape the dough out of the bowl onto the floured surface. Stretch and shape the dough into a rectangle, about 10×7 inches. For 8 rolls, cut the dough into 8 pieces, each around 2.5×3.5 inches. For 2 loaves, cut in half to make two 5×7-inch rectangles.
- Flour a piece of parchment paper. Using floured hands, lift the dough pieces and transfer them to the floured parchment, spacing them at least 2 inches apart. Gently reshape if needed.
- Lightly sprinkle flour over the rolls and cover them with a kitchen towel. Let rest at room temperature for 1 hour.
- Position one oven rack in the bottom position and another in the center. Preheat the oven to 450°F (232°C) and place a baking sheet on the center rack.
- When ready to bake, scatter several cups of ice cubes in a shallow pan. Uncover the rolls and lightly spray them with water. Quickly remove the baking sheet from the oven and slide the parchment paper with bread onto it. Slide the pan with ice cubes onto the bottom rack and close the oven door.
- Bake for 20–25 minutes, or until golden brown. The bread is done when it sounds hollow when tapped or reaches an internal temperature of 205°F (96°C) to 210°F (99°C).
- Remove the rolls from the oven and allow to cool for at least 45 minutes before slicing and serving.