Hanami Dango, those delightful, colorful dumplings on a stick, are like a springtime celebration for your taste buds. The moment you pop one into your mouth, you’re greeted with a soft, chewy texture that’s equally comforting and whimsical—perfect for those cherry blossom picnics or simply to brighten up a cozy afternoon at home. Whether they’re being savored under the blooming sakura trees or snagged from a friendly neighbor’s dessert platter, these treats turn any event into a festive occasion.
Jump to:
- <strong>Ingredients for Quick & Easy Hanami Dango</strong>
- <strong>How to Make Quick & Easy Hanami Dango</strong>
- <strong>Perfecting Quick & Easy Hanami Dango Cooking Process</strong>
- <strong>Add Your Touch to Quick & Easy Hanami Dango</strong>
- <strong>Storing & Reheating Quick & Easy Hanami Dango</strong>
- <strong>FAQs About Quick & Easy Hanami Dango</strong>
- What is Quick & Easy Hanami Dango?
- How do I customize Quick & Easy Hanami Dango?
- What ingredients do I need for Quick & Easy Hanami Dango?
- How can I store leftovers of Quick & Easy Hanami Dango?
- <strong>Conclusion for Quick & Easy Hanami Dango</strong>
Imagine uniting family and friends over these cheerful morsels, each skewer bringing laughter and stories to the table. Quick & Easy Hanami Dango are not just a treat; they’re a gateway to cherished memories and joyous celebrations. As you embark on this culinary journey, prepare to amaze your taste buds and delight your senses.
Why You'll Love This Quick & Easy Hanami Dango
- This incredible Quick & Easy Hanami Dango transforms simple everyday ingredients into restaurant-quality flavors that will blow your mind completely.
- Foolproof recipe techniques guarantee perfect results every single time, making even novice cooks feel like professional chefs instantly.
- Stunning visual appeal with gorgeous colors and mouthwatering aromas creates the ultimate Instagram-worthy dish for any special occasion.
- Endlessly adaptable for different dietary needs while working beautifully for meal prep, date nights, or entertaining large groups effortlessly.
Ingredients for Quick & Easy Hanami Dango
Here’s what you’ll need to make this delicious Quick & Easy Hanami Dango:
¾ cup + 1 tbsp glutinous rice flour – This flour gives the dango its signature chewy texture, essential for achieving the perfect bite.
½ cup rice flour – It adds a lightness to the dough, helping balance the texture and flavor of the dango.
5 tablespoons icing sugar – Sweetens the mixture, enhancing the overall flavor without overpowering the delicate taste of the rice.
10 tablespoons hot boiling water – This is key in bringing the dough together; it activates the starches in the flours for that lovely chew.
1 drop red food coloring – This will provide the beautiful blush of color that represents spring and cherry blossoms.
1 drop green food coloring – A splash of freshness in contrast to the red and white, reminiscent of fresh spring leaves.
How to Make Quick & Easy Hanami Dango
Follow these simple steps to prepare this delicious Quick & Easy Hanami Dango:
Step 1: Gather Your Ingredients
Make sure your kitchen is ready for action by having all your ingredients checked off and accessible. It’s like a cooking pep rally!
Step 2: Mix the Dry Ingredients
In a large mixing bowl, whisk together the glutinous rice flour, rice flour, and icing sugar until well combined. This fluffy cloud of flour is the foundation for your dango.
Step 3: Add the Boiling Water
Cautiously pour the hot boiling water into the dry mixture, stirring diligently with a whisk. The mixture will become clumpy and dry, but fear not! It’s meant to look like the beginnings of something fantastic.
Step 4: Knead It Out
Once you have a clumpy mass in your bowl, mix it with your hands (it’s okay to get a little messy!). Knead this concoction until it forms a smooth ball of dough – it’s a therapeutic experience, trust me!
Step 5: Color Your Dough
Divide the dough into three equal portions. Place each portion in its own bowl. Add one drop of red food coloring to one bowl and mix well, then repeat with the green for the second bowl. Leave the third bowl untouched, your blank canvas!
Step 6: Shape the Balls
Roll each colored portion into a log and cut it into six equal pieces. Roll each piece into a small ball, creating a total of 18 colorful little treasures waiting to be cooked.
Step 7: Boil Those Balls
Bring a medium pot of water to boil. Once it’s bubbling like a hot spring, reduce the heat to medium-high. Gently roll each ball to ensure they don’t stick together, then lower the balls into the water. Stir occasionally.
Step 8: Finish Up
Let the dango balls boil for about 7-8 minutes until they float and are cooked through. Using a slotted spoon, remove them and dunk them in an ice bath to stop the cooking process.
Step 9: Skewer and Enjoy
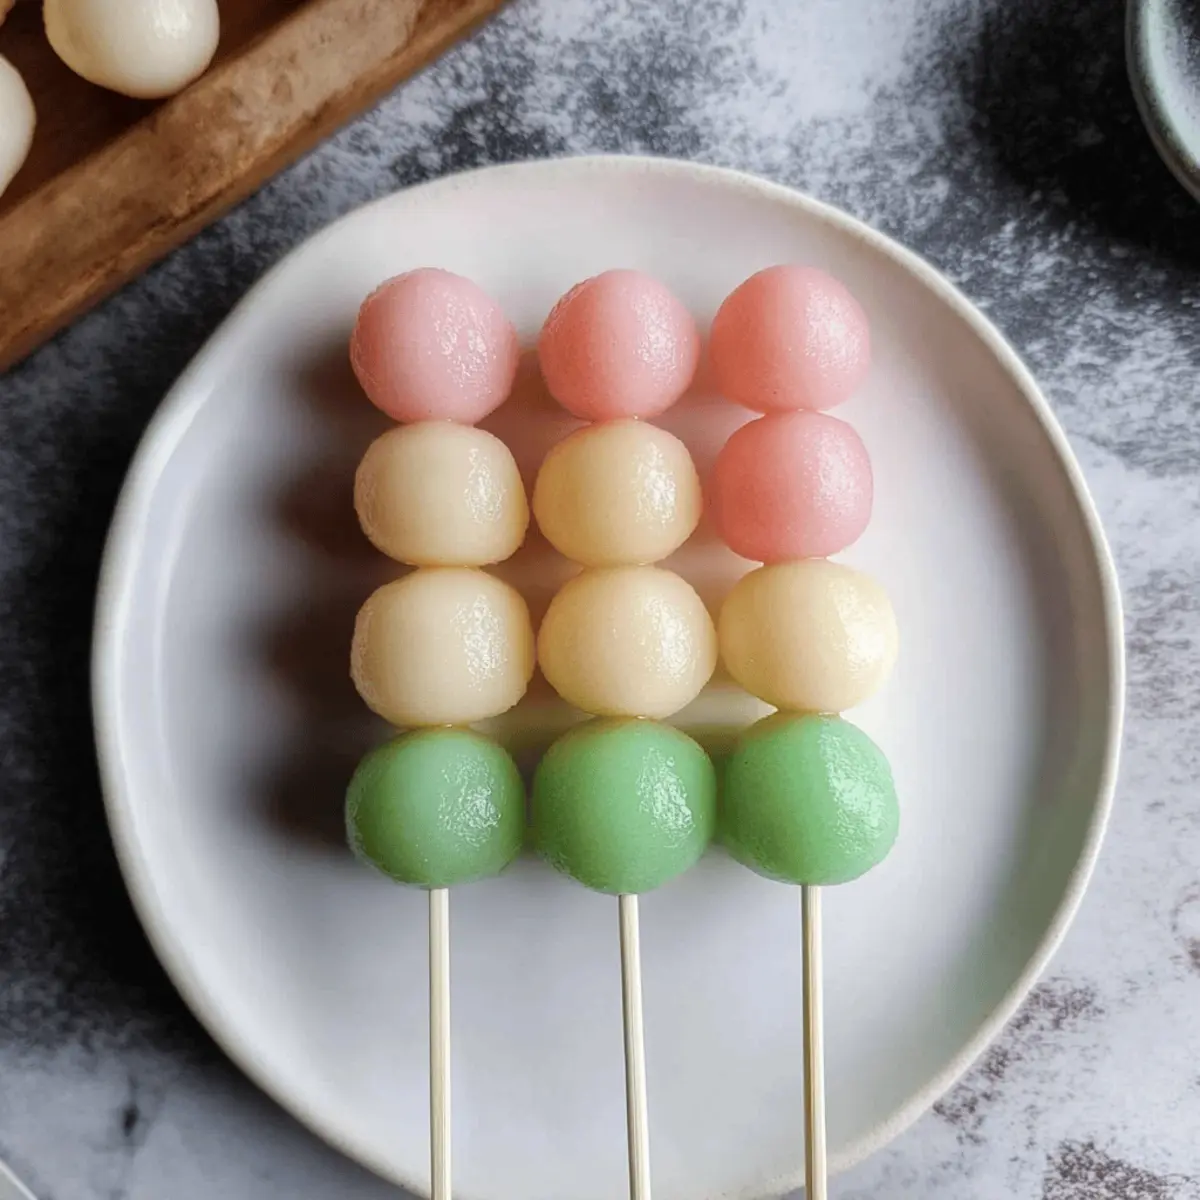
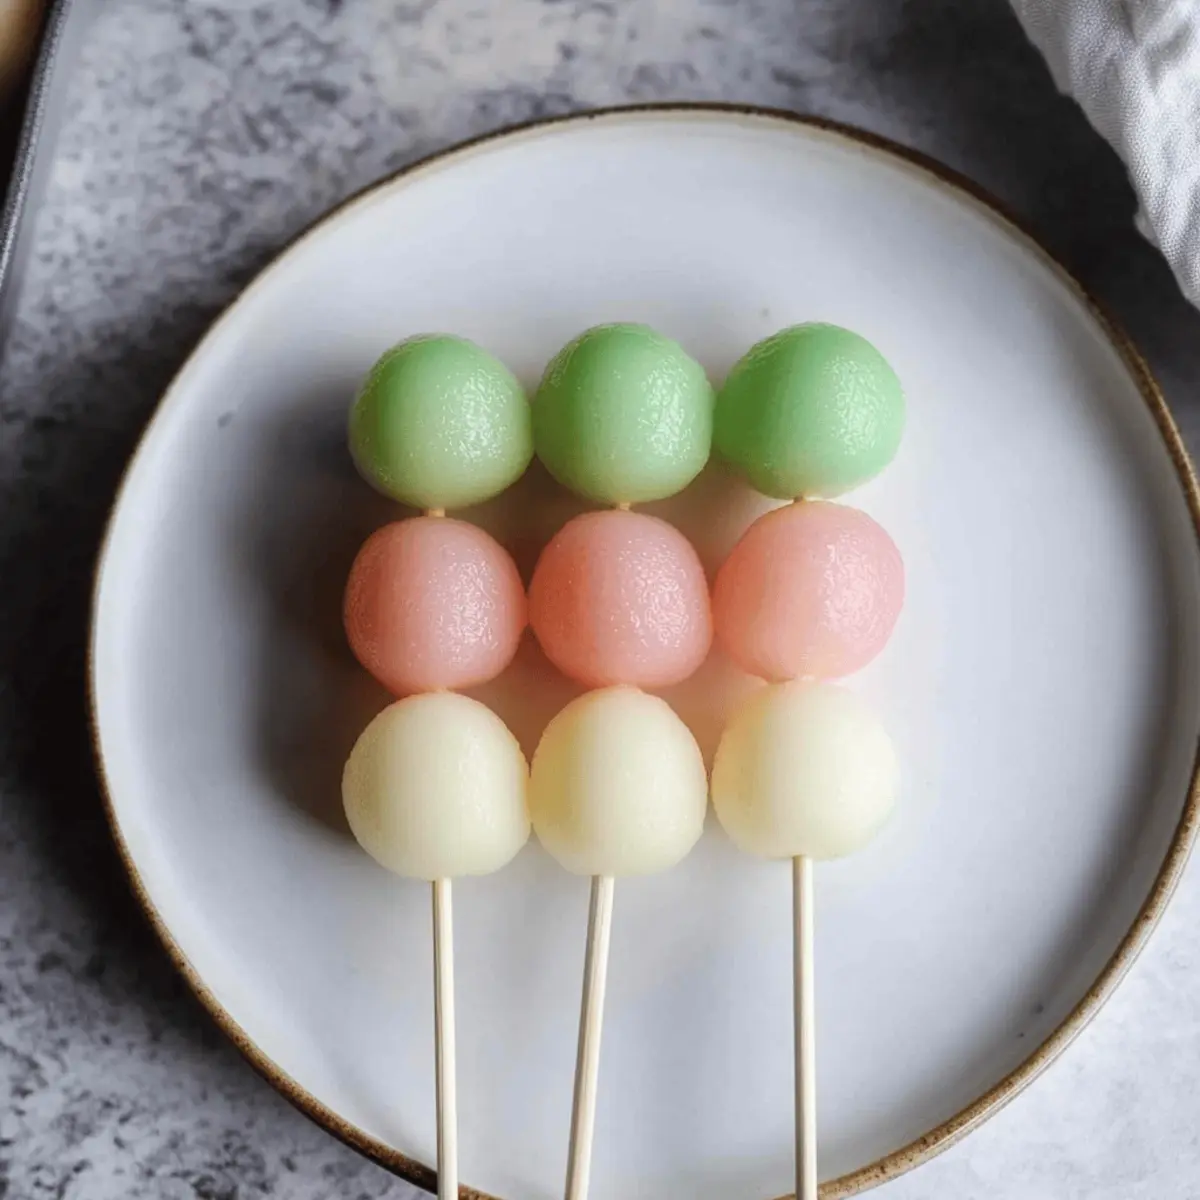
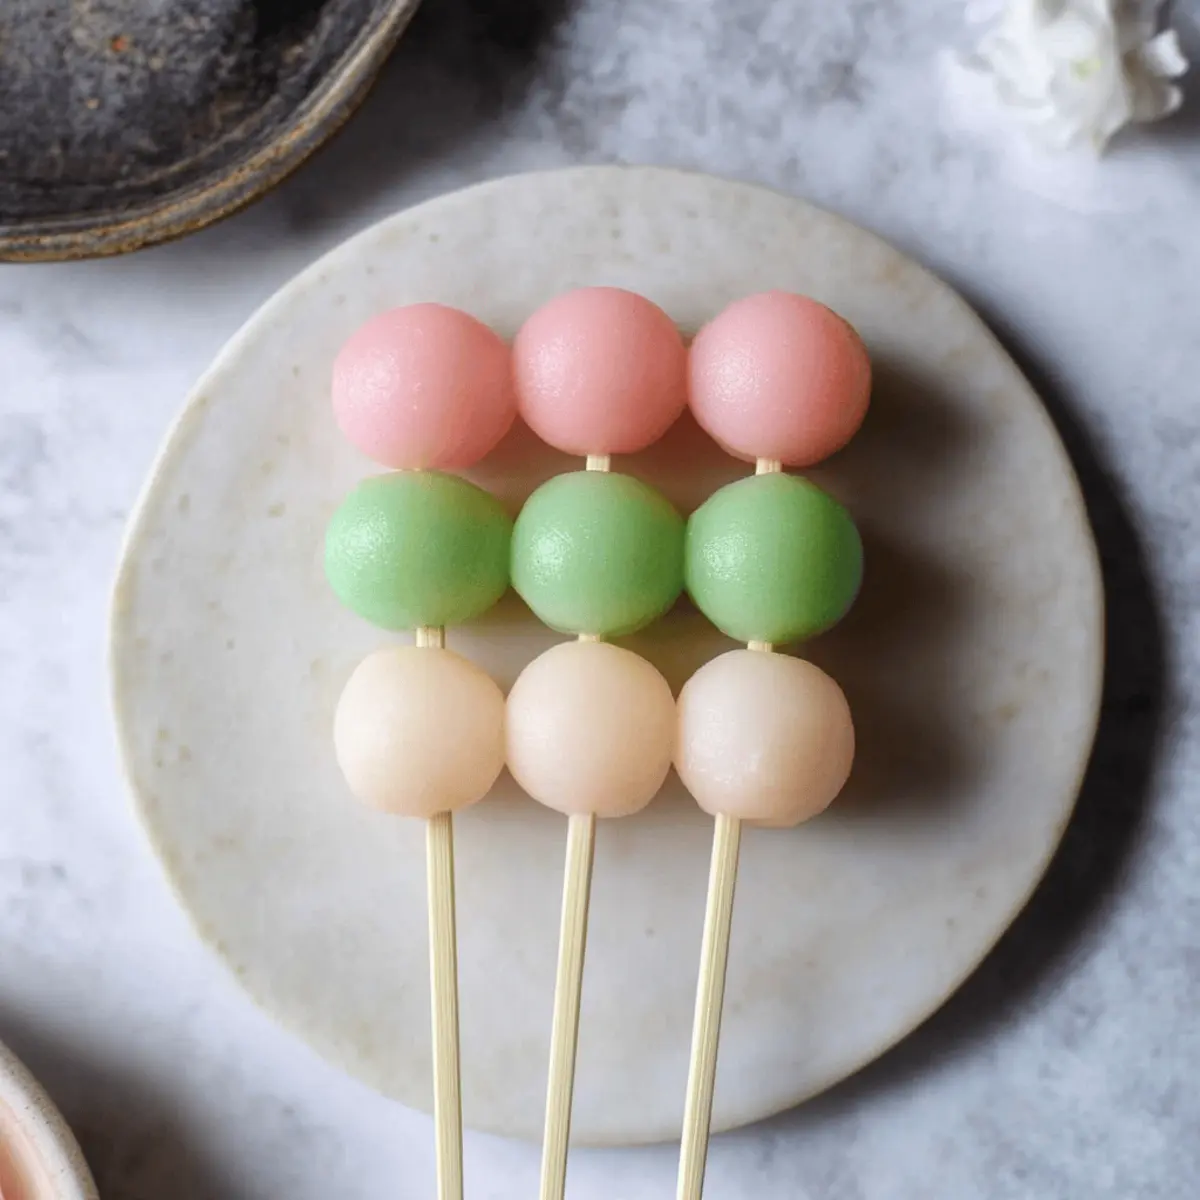
Once cool to the touch, it’s time for the fun part! Skewer three balls of different colors onto each stick, starting with green, followed by white, and finishing with pink. Voilà! Your beautiful Hanami Dango is ready to shine, whether warm or at room temperature.
There you have it! Quick & Easy Hanami Dango will not only bring a splash of color to your table but also a sprinkle of joy to your heart. Share these delightful skewers with loved ones and embrace the enchanting spirit of spring, one bite at a time!
You Must Know About Quick & Easy Hanami Dango
- This showstopping Quick & Easy Hanami Dango delivers restaurant-quality results using simple ingredients you probably already have at home.
- The perfect balance of textures and flavors creates an unforgettable dining experience that will have everyone asking for seconds.
- Picture-perfect presentation with vibrant colors makes this dish absolutely Instagram-worthy and guaranteed to impress any dinner guest.
- Incredibly versatile recipe that works beautifully for weeknight dinners, meal prep, special occasions, or even outdoor entertaining sessions.
Perfecting Quick & Easy Hanami Dango Cooking Process
To ensure you whip up a perfect batch of Quick & Easy Hanami Dango, start by preparing all your ingredients. Mix the dry ingredients first, then gradually add the hot water while kneading until you form a smooth dough. This helps maintain a consistent texture throughout.
Add Your Touch to Quick & Easy Hanami Dango
Feel free to customize your Quick & Easy Hanami Dango by incorporating flavors like matcha powder for a subtle green tea twist or adding a splash of coconut milk for extra richness. You can also add fillings like sweet red bean paste for a delightful surprise inside.
Storing & Reheating Quick & Easy Hanami Dango
Store any leftover Quick & Easy Hanami Dango in an airtight container in the fridge for up to three days. To reheat, quickly steam them or microwave for a few seconds to restore their chewy texture, making them just like freshly made.
Chef's Helpful Tips for Quick & Easy Hanami Dango
- This professional-quality Quick & Easy Hanami Dango relies on precise timing and temperature control to achieve restaurant-standard results consistently.
- Master the art of mise en place by prepping all ingredients beforehand, ensuring smooth execution and preventing any last-minute cooking disasters.
- The secret lies in layering flavors throughout the cooking process rather than seasoning only at the end for maximum depth.
- Pro tip: let the finished dish rest for optimal texture and flavor development before serving to hungry guests waiting eagerly.
The first time I made Quick & Easy Hanami Dango was for a cherry blossom viewing party. The oohs and aahs from my friends made all the flour-flying chaos worth it, and I couldn’t stop laughing when they tried to guess the secret ingredient!
FAQs About Quick & Easy Hanami Dango
What is Quick & Easy Hanami Dango?
Quick & Easy Hanami Dango is a delightful Japanese snack traditionally enjoyed during cherry blossom festivities. It consists of colorful rice dumplings made from glutinous rice flour, rice flour, and a touch of icing sugar. Once prepared, the dough is shaped into lovely pastel-colored balls that are skewered and served warm or at room temperature. This vibrant treat balances chewy texture with a hint of sweetness, making it perfect for celebrating nature’s beauty.
How do I customize Quick & Easy Hanami Dango?
You can easily customize Quick & Easy Hanami Dango by adding unique flavors. Consider incorporating matcha powder to give your dumplings a subtle green tea essence or mixing in a splash of coconut milk for a tropical twist. For an extra surprise, try adding fillings like sweetened red bean paste or mochi for a dynamic taste sensation. Each modification offers a creative way to make this dish your own!
What ingredients do I need for Quick & Easy Hanami Dango?
To create Quick & Easy Hanami Dango, you will need glutinous rice flour, rice flour, icing sugar, and boiling water for the dough. Additionally, use food coloring to achieve the traditional pastel green, pink, and white hues. These simple ingredients combine to create a delightful and chewy texture that defines this Japanese confection. No need for elaborate components—everything can be found in your pantry!
How can I store leftovers of Quick & Easy Hanami Dango?
If you have leftovers of Quick & Easy Hanami Dango, store them in an airtight container in the fridge for up to three days. To enjoy them later, simply reheat using a steamer or microwave for a few seconds. This will help restore their lovely chewy texture and make them just as enticing as when they were freshly made. Don’t let those colorfully delicious dumplings go to waste!
Conclusion for Quick & Easy Hanami Dango
In summary, Quick & Easy Hanami Dango is a vibrant and tasty treat that perfectly captures the spirit of spring. With simple ingredients and easy preparation, anyone can make this Japanese delicacy at home. Whether you’re hosting a cherry blossom party or just looking for a fun dessert, Quick & Easy Hanami Dango is sure to impress family and friends. So gather your ingredients and get ready to enjoy this delightful and colorful snack!
Quick & Easy Hanami Dango
Ingredients
Equipment
Method
- In a large mixing bowl, whisk together glutinous rice flour, rice flour, and icing sugar.
- Add hot boiling water to the dry ingredients and whisk until clumpy and dry.
- Knead the mixture until a ball of dough forms in the bowl.
- Dust a clean working surface with glutinous rice flour and transfer the dough onto the surface; knead into a smooth ball.
- Roll the dough into a thick log, about 4 inches wide and 9 inches long. Slice the log into 3 equal portions.
- Transfer each portion into three separate bowls. Add 1 drop of red food coloring to the first bowl and mix, then repeat with green food coloring for the second bowl. Leave the third bowl white.
- Roll each piece of dough into a 1-inch thick log and cut each log into 6 equal pieces, rolling each piece into a small ball for a total of 18 balls.
- Bring a medium pot of water to boil and reduce to medium-high heat. Roll each ball before lowering into the hot water and stir occasionally.
- Boil for 7-8 minutes until the balls float and the inside is cooked. Remove rice balls with a slotted spoon and transfer to an ice bath.
- Once cool to touch, skewer 1 of each color onto a stick starting with green, then white, and lastly pink, with 3 balls per stick. Enjoy warm or at room temperature.