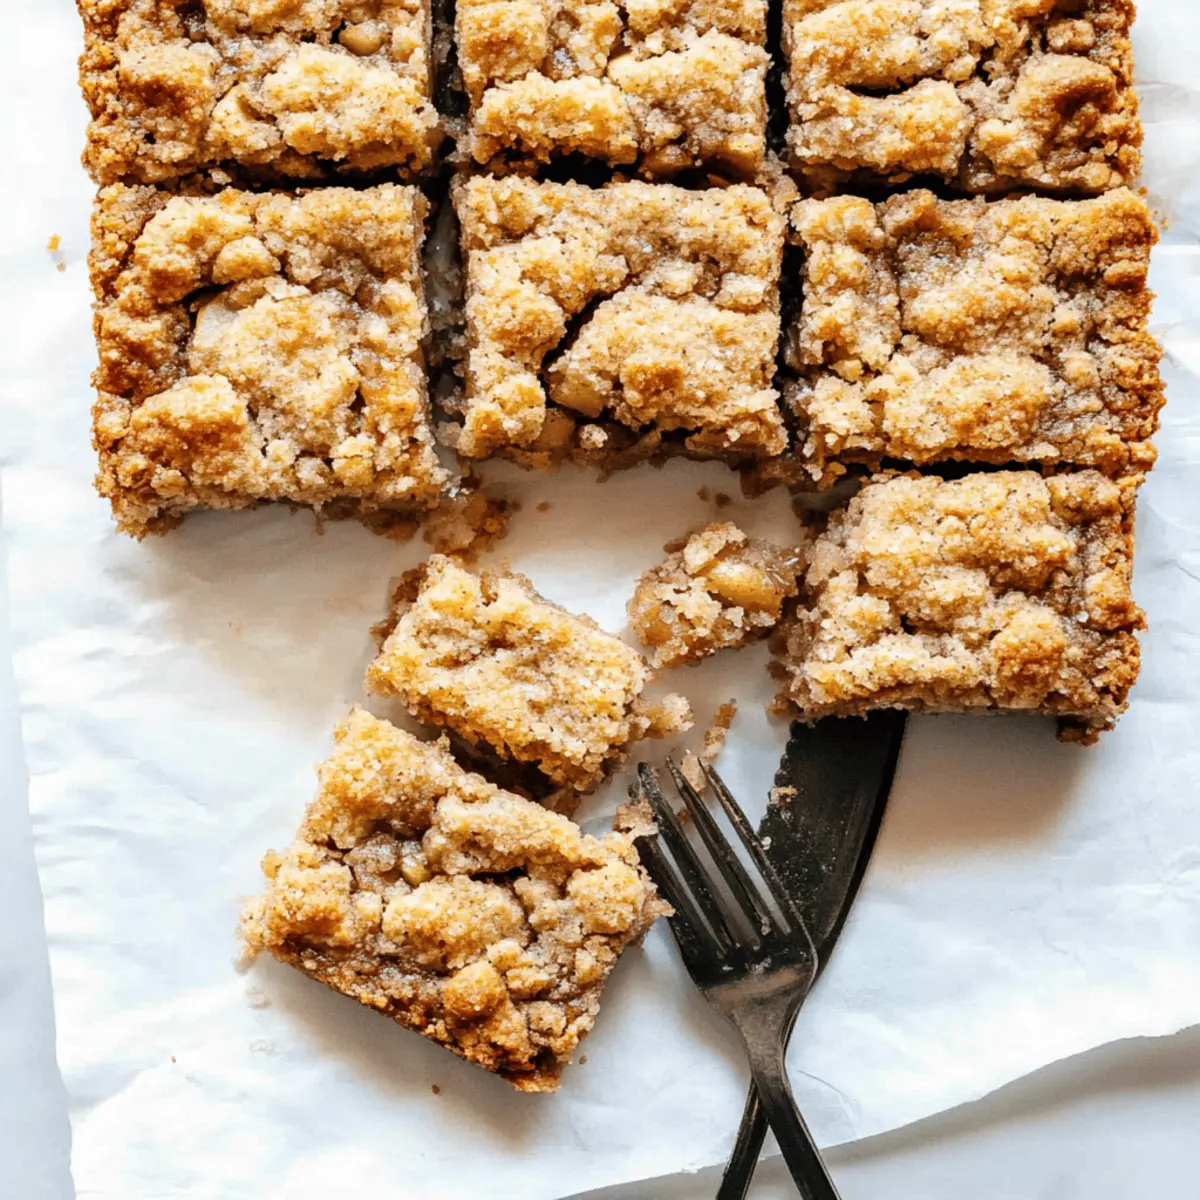
There’s something magical about the combination of caramel and apples that warms the heart and brings back memories of crisp fall afternoons. Imagine sinking your teeth into a delightful slice of homemade Apple Crisp Bars, where the luscious sweetness of caramel drizzles over tender, spiced apples, perfectly layered atop a crumbly, buttery crust. It’s the kind of dessert that has you dreaming of hayrides and pumpkin spice lattes while you linger in the comforting aroma filling your kitchen.
Jump to:
- <strong>Ingredients for Apple Crisp Bars</strong>
- <strong>How to Make Apple Crisp Bars</strong>
- <strong>Perfecting Apple Crisp Bars Cooking Process</strong>
- <strong>Add Your Touch to Apple Crisp Bars</strong>
- <strong>Storing & Reheating Apple Crisp Bars</strong>
- FAQs About Apple Crisp Bars
- What is Apple Crisp Bars?
- How can I customize my Apple Crisp Bars?
- Can I store leftover Apple Crisp Bars?
- What occasions are perfect for serving Apple Crisp Bars?
- Conclusion for Apple Crisp Bars
These Apple Crisp Bars are not just a feast for the taste buds; they’re an experience. Perfect for sharing at autumn gatherings, cozy family nights, or as a sweet indulgence after a long day, this recipe has a way of drawing everyone together. So grab your apron, and get ready to whip up this treat that promises to be a hit every time!
Why You'll Love This Apple Crisp Bars
- This incredible Apple Crisp Bars transforms simple everyday ingredients into restaurant-quality flavors that will blow your mind completely.
- Foolproof recipe techniques guarantee perfect results every single time, making even novice cooks feel like professional chefs instantly.
- Stunning visual appeal with gorgeous colors and mouthwatering aromas creates the ultimate Instagram-worthy dish for any special occasion.
- Endlessly adaptable for different dietary needs while working beautifully for meal prep, date nights, or entertaining large groups effortlessly.
Ingredients for Apple Crisp Bars
Here’s what you’ll need to make this delicious Apple Crisp Bars:
3/4 cup butter, softened – This will create a rich, buttery base and crust; be sure to soften it beforehand for the best results.
3/4 cup light brown sugar – Adds sweetness and moisture to the crust, balancing perfectly with the tart apples.
1 teaspoon cinnamon – A warm spice that heightens the flavor of the apples, making every bite taste like fall.
1/2 teaspoon salt – Enhances the overall flavor and brings out the natural sweetness of the ingredients.
1/2 teaspoon baking soda – Helps the crust rise slightly, giving it that perfect crumbly texture.
2 cups flour – The base for your crust; all-purpose flour works best for this recipe.
4 small apples – Opt for a tart variety like Granny Smith for a balance of flavor; peel and slice them thinly.
1/4 cup butter – Used in the caramel sauce to add richness and a smooth texture.
1/4 cup brown sugar – Sweetens the caramel, giving it that classic flavor we love with apples.
1/4 cup cream or half and half – Makes the caramel sauce creamy and luscious.
1/4 cup sugar – Added to the caramel sauce for an extra layer of sweetness.
How to Make Apple Crisp Bars
Follow these simple steps to prepare this delicious Apple Crisp Bars:
Step 1: Prepare the Crust
Preheat the oven to 350 degrees Fahrenheit. In a large mixing bowl, beat the softened butter and brown sugar with an electric mixer until creamy. Add the cinnamon, salt, baking soda, and flour, mixing until crumbly. Set aside one cup of this mixture for topping, and press the remaining mixture into a 9×13 baking pan lined with parchment paper for easy removal. Bake for 12 minutes until lightly golden.
Step 2: Slice the Apples
While the crust is baking, quarter the apples and scoop out their cores. Slice them as thinly as possible; a mandoline slicer can be a big help here! You want those apples to be tender and deliciously layered in your bars.
Step 3: Make the Caramel Sauce
In a saucepan, melt the 1/4 cup of butter over medium heat. Stir in the brown sugar and let it dissolve, stirring until the mixture begins to bubble gently. Add the cream and sugar, mixing until the sauce is smooth and creamy. Remove from heat and get ready for the apple arrangement.
Step 4: Assemble the Bars
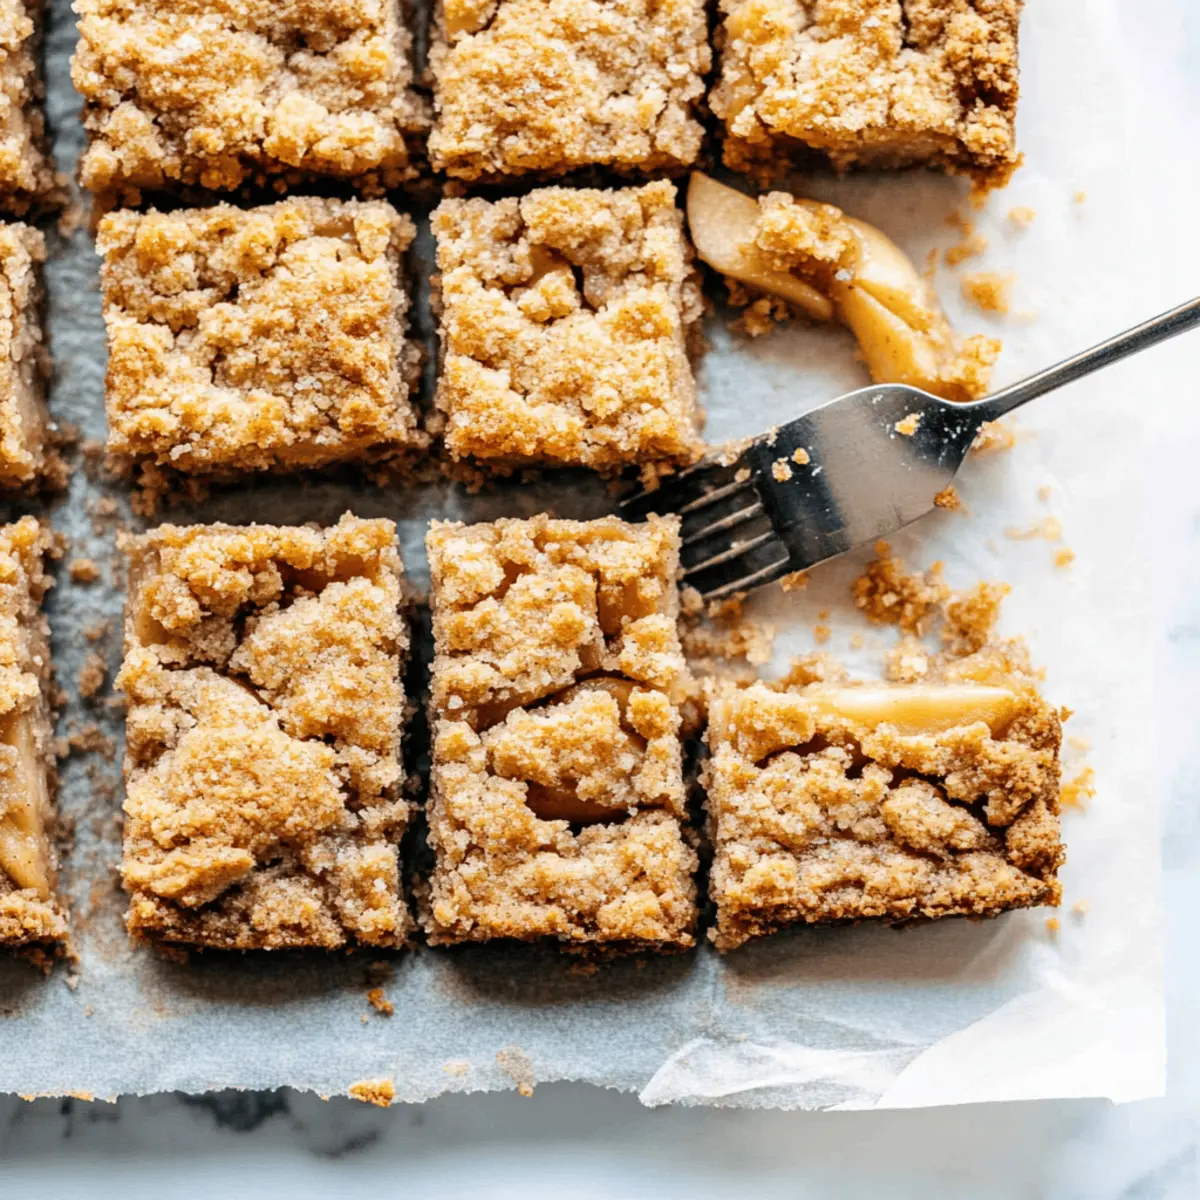
Once your crust is out of the oven, arrange the apple slices evenly over the baked crust. Pour the warm caramel sauce generously over the apples, ensuring every inch is covered. Then, sprinkle the reserved crumb mixture from the first step over the caramel and apples. For an added crunch, sprinkle a little turbinado sugar on top for texture.
Step 5: Bake to Perfection
Put the pan back into the oven and bake for an additional 30 to 35 minutes. You’ll know they’re ready when the top is golden brown and the apples have softened beautifully. The kitchen will smell like heaven, so prepare for your family to wander in and ask, “What’s cooking?”
Step 6: Cool and Serve
Once baked, remove the pan from the oven and lift the bars out using the parchment paper. Allow them to cool for 10 to 15 minutes before cutting into squares. Serve warm, or let them cool completely for later enjoyment. They’re perfect with a scoop of vanilla ice cream or a drizzle of extra caramel sauce on top.
These Apple Crisp Bars are an autumn delight that should make their way into your family recipes. They’re a sweet way to celebrate the changing seasons and delight your friends and family with homemade goodness. Enjoy the flavors, share the warmth, and don’t forget to take a picture or two before they disappear!

You Must Know About Apple Crisp Bars
- This showstopping Apple Crisp Bars delivers restaurant-quality results using simple ingredients you probably already have at home.
- The perfect balance of textures and flavors creates an unforgettable dining experience that will have everyone asking for seconds.
- Picture-perfect presentation with vibrant colors makes this dish absolutely Instagram-worthy and guaranteed to impress any dinner guest.
- Incredibly versatile recipe that works beautifully for weeknight dinners, meal prep, special occasions, or even outdoor entertaining sessions.
Perfecting Apple Crisp Bars Cooking Process
To achieve the best results with your Apple Crisp Bars, start by preheating your oven while you prepare your crust. Mix the core ingredients first, allowing enough time for the crust to bake before you layer in those delicious sliced apples and caramel sauce.
Add Your Touch to Apple Crisp Bars
Feel free to customize your Apple Crisp Bars with alternatives like crushed nuts, a splash of vanilla, or even a sprinkle of nutmeg. You can swap out the apples for pears or add dried cranberries for a fun twist.
Storing & Reheating Apple Crisp Bars
To store your Apple Crisp Bars, keep them in an airtight container at room temperature for about two days or refrigerate for longer freshness. Reheat them gently in the oven to revive the crispiness of the crust before serving.
Chef's Helpful Tips for Apple Crisp Bars
- This professional-quality Apple Crisp Bars relies on precise timing and temperature control to achieve restaurant-standard results consistently.
- Master the art of mise en place by prepping all ingredients beforehand, ensuring smooth execution and preventing any last-minute cooking disasters.
- The secret lies in layering flavors throughout the cooking process rather than seasoning only at the end for maximum depth.
- Pro tip: let the finished dish rest for optimal texture and flavor development before serving to hungry guests waiting eagerly.
Sometimes, someone asks for a recipe that warms the heart — this one brought my whole family together at our last gathering, sneaking seconds and thirds, each bite filled with laughter and joy.
FAQs About Apple Crisp Bars
What is Apple Crisp Bars?
Apple Crisp Bars are a delightful dessert that combines the warm, comforting flavors of apple crisp with the convenience of a bar format. Made with a rich buttery crust, tender sliced apples, and a luscious caramel sauce, these treats provide a perfect balance of sweetness and spice. Ideal for sharing, they are a fantastic addition to any gathering or a cozy night in. Whether enjoyed warm with a scoop of vanilla ice cream or served cool, Apple Crisp Bars make for an irresistible dessert option throughout the fall and beyond.
How can I customize my Apple Crisp Bars?
You can easily tailor Apple Crisp Bars to your taste preferences by adding your favorite ingredients. Consider incorporating crushed nuts like pecans or walnuts for added crunch, or sprinkle in a bit of nutmeg or allspice for warmth. You might also swap out apples for pears or even include some dried cranberries for a unique twist. Experimentation is encouraged, as these adaptations can elevate your bars to new flavor heights, making them truly your own.
Can I store leftover Apple Crisp Bars?
Absolutely! To keep your Apple Crisp Bars fresh, store them in an airtight container at room temperature for up to two days. For a longer shelf life, refrigerate them, where they can last up to a week. If you want to enjoy them warm later, simply reheat them in the oven for a few minutes to revive the crispiness of the crust. This way, you can savor the deliciousness of your bars even after their initial bake.
What occasions are perfect for serving Apple Crisp Bars?
Apple Crisp Bars are incredibly versatile and suitable for various occasions. They shine at family gatherings, potlucks, and holiday celebrations, where they will please both kids and adults alike. They are also perfect for casual weeknight dinners or as a picnic treat for outdoor events. The easy-to-serve format makes them ideal for gatherings of any size, ensuring that everyone can enjoy a piece of this delightful dessert without fuss.
Conclusion for Apple Crisp Bars
In summary, Apple Crisp Bars are a delightful fusion of classic flavors and modern convenience that everyone can appreciate. With a buttery crust, tender apples, and a creamy caramel sauce, these bars are certainly destined to impress. Whether you customize them with your favorite add-ins or enjoy them as they are, Apple Crisp Bars will surely warm your heart and leave your guests begging for the recipe. So go ahead, gather your ingredients, and create a dessert that’s bursting with flavor and happiness.
Delicious Caramel Apple Crisp Bars Recipe for Fall Desserts
Ingredients
Equipment
Method
- Preheat the oven to 350 degrees. Beat the butter and brown sugar with electric mixers until creamy.
- Add the cinnamon, salt, baking soda, and flour. The mixture should be crumbly. Set aside one cup of the mixture; press the rest into a 9×13 baking sheet lined with parchment paper. Bake for 12 minutes.
- Quarter the apples and scoop out seeds/core. Slice the apple quarters with a mandoline slicer or slice by hand as thinly as possible.
- Melt the butter in a saucepan. Add both types of sugar; when the sugar is incorporated and the mixture is just about to start bubbling, add the cream and stir until a creamy sauce forms.
- When the crust is done, arrange the apples in an even layer over the crust and pour the caramel over the top.
- Sprinkle with remaining crust crumbles from step one and turbinado sugar. Bake for 30-35 minutes.
- Remove from oven, lift out of the pan using the edges of the parchment paper, and allow to cool for 10-15 minutes. Cut and serve.