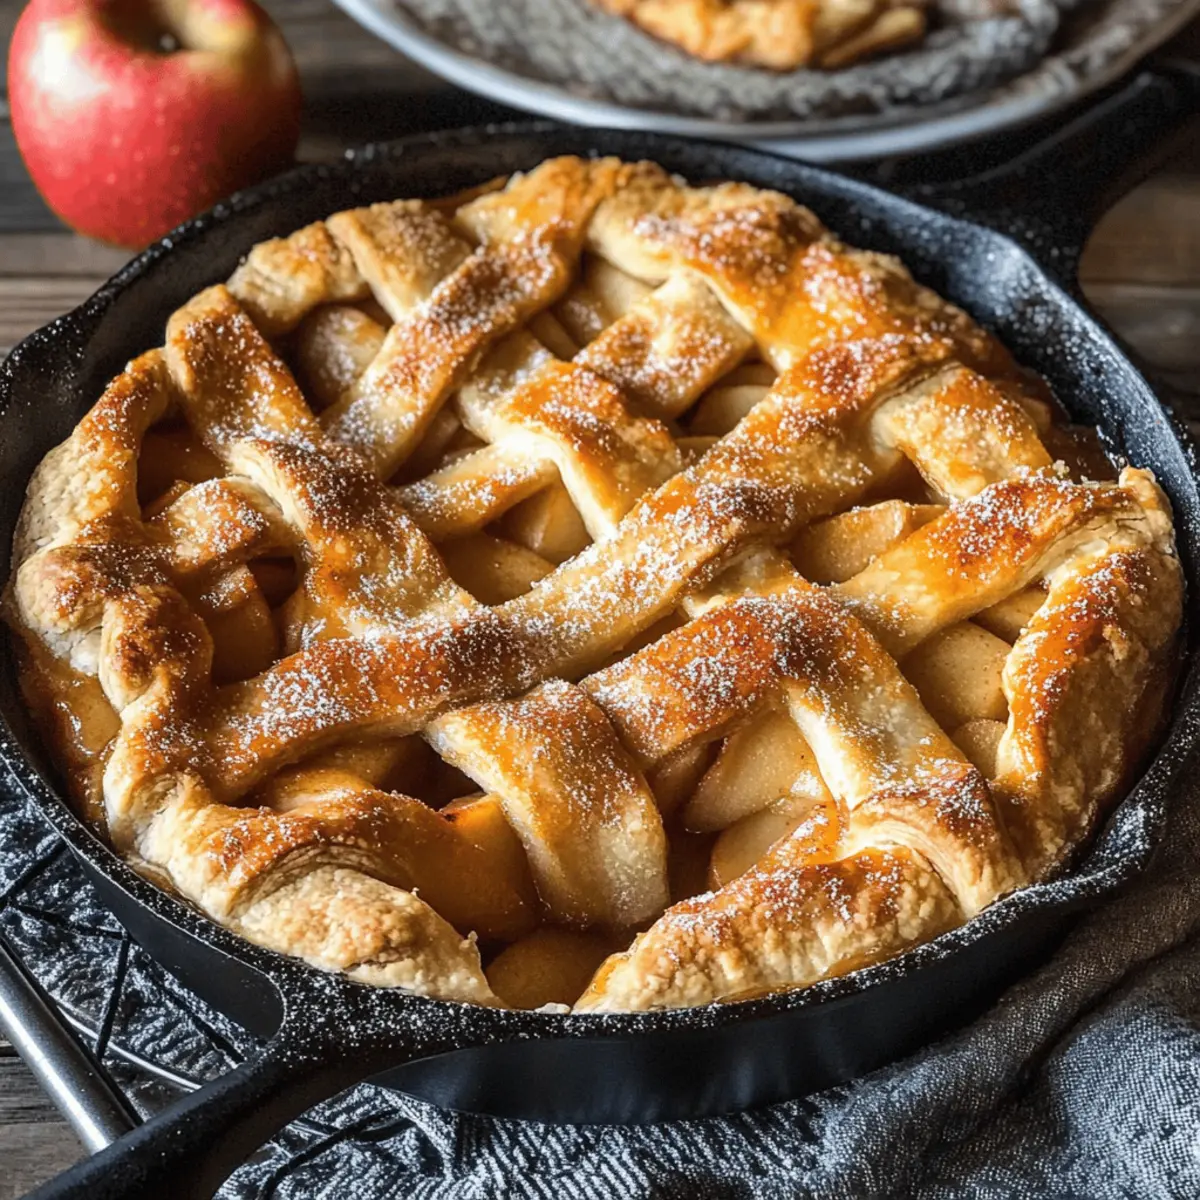
There’s something truly magical about the aroma of cinnamon wafting through your home, especially when it mingles with the sweet scent of baked apples. Imagine slicing into a beautifully golden Cast Iron Skillet Apple Pie, the crumbly topping giving way to a warm, gooey filling that hugs your taste buds like an old friend. That’s the kind of joy we’re about to create together.
Jump to:
- <strong>Ingredients for Cast Iron Skillet Apple Pie</strong>
- <strong>How to Make Cast Iron Skillet Apple Pie</strong>
- <strong>Perfecting Cast Iron Skillet Apple Pie Cooking Process</strong>
- <strong>Add Your Touch to Cast Iron Skillet Apple Pie</strong>
- <strong>Storing & Reheating Cast Iron Skillet Apple Pie</strong>
- FAQs About Cast Iron Skillet Apple Pie
- What is Cast Iron Skillet Apple Pie?
- How do I store leftovers of Cast Iron Skillet Apple Pie?
- Can I customize my Cast Iron Skillet Apple Pie?
- What is the best apple combination for Cast Iron Skillet Apple Pie?
- Conclusion for Cast Iron Skillet Apple Pie
This pie isn’t just any dessert; it’s a delicious hug in a crust, perfect for family gatherings, cozy evenings, or any day that ends in “y.” You’ll find that every bite is a combination of sweet, tart, and buttery goodness that will have you wondering why you didn’t make it sooner.
Why You'll Love This Cast Iron Skillet Apple Pie
- This incredible Cast Iron Skillet Apple Pie transforms simple everyday ingredients into restaurant-quality flavors that will blow your mind completely.
- Foolproof recipe techniques guarantee perfect results every single time, making even novice cooks feel like professional chefs instantly.
- Stunning visual appeal with gorgeous colors and mouthwatering aromas creates the ultimate Instagram-worthy dish for any special occasion.
- Endlessly adaptable for different dietary needs while working beautifully for meal prep, date nights, or entertaining large groups effortlessly.
Ingredients for Cast Iron Skillet Apple Pie
Here’s what you’ll need to make this delicious Cast Iron Skillet Apple Pie:
2 1/2 cups all-purpose flour – The backbone of your pie crust; look for an all-purpose variety for the best texture.
3/4 teaspoon kosher salt – Essential to enhance the flavor of the crust.
16 tablespoons (2 sticks) unsalted butter – Cold and cut into cubes for a flaky crust; make sure it’s super cold!
4 to 8 tablespoons ice water – Helps bring the dough together without making it tough.
6 apples – A mixture of tart and sweet like Granny Smith and Fuji ensures a balanced flavor.
2 tablespoons all-purpose flour – This will help thicken the apple mixture.
1 teaspoon ground cinnamon – Warm and aromatic, cinnamon is a must for that classic apple pie flavor.
1/2 lemon, juiced and zested – Adds a bright freshness and cuts through the sweetness.
3/4 cup packed light brown sugar – Melty and caramel-like, brown sugar gives depth to the filling.
1 pinch kosher salt – A tiny bit tightens up the sweet notes.
1 cup all-purpose flour – For the crumb topping, adding to the texture and flavor.
1/2 cup granulated sugar – Provides sweetness and crunch for the topping.
1/4 cup light brown sugar – Adds chewiness and complexity to the topping.
2 teaspoons ground cinnamon – Because you can never have too much cinnamon!
1/2 teaspoon kosher salt – To balance out the sweetness.
6 tablespoons chilled unsalted butter – Essential for creating that crumbly topping; keep it cold!
How to Make Cast Iron Skillet Apple Pie
Follow these simple steps to prepare this delicious Cast Iron Skillet Apple Pie:
Step 1: Make the Crust
In a large bowl, combine the flour and salt. Add the cold butter cubes and work them into the flour using your fingertips or a pastry blender until the mixture resembles coarse crumbs. Gradually stir in the ice water, a tablespoon at a time, until the dough comes together. Form it into a round shape, cover in plastic wrap, and chill in the refrigerator for at least 30 minutes.
Step 2: Prepare the Filling
While your dough chills, wash, peel, and core the apples. Cut them into 1/4-inch thick slices and place them in a large bowl. Add the flour, ground cinnamon, lemon juice, lemon zest, brown sugar, and a pinch of salt. Toss until the apple slices are well coated and let sit while you prepare the topping.
Step 3: Make the Topping
In a medium bowl, combine the flour, granulated sugar, brown sugar, ground cinnamon, and salt. Sprinkle in the chilled butter cubes and mix with your fingers or a fork until the mixture resembles coarse sand with some pea-sized pieces. Chill this mixture until you’re ready to assemble the pie.
Step 4: Assemble the Pie
Preheat your oven to 400°F (200°C). On a well-floured surface, roll out the chilled dough to about 1/8 inch thick. Transfer it to a 12-inch cast-iron skillet, pressing it gently into the edges. Trim any overhanging dough if necessary; you want a neat finish.
Step 5: Fill the Pie
Pour the apple filling into the crust, spreading it out evenly. Top with the crumb mixture, mounding it slightly in the center and gently pressing it down to pack it over the apples.
Step 6: Bake the Pie
Bake the pie in the preheated oven for 30 minutes until the top turns golden brown. Reduce the temperature to 350°F (175°C) and continue baking for 40 to 45 minutes more, until the apples are tender when pierced with a knife. If the topping begins to brown too quickly, loosely cover the pie with aluminum foil.
After emerging from the oven, allow your pie to cool slightly, then serve warm or at room temperature. Indulge in a slice of this Cast Iron Skillet Apple Pie, and let its delightful combination of flavors and textures whisk you away to dessert paradise!
You Must Know About Cast Iron Skillet Apple Pie
- This showstopping Cast Iron Skillet Apple Pie delivers restaurant-quality results using simple ingredients you probably already have at home.
- The perfect balance of textures and flavors creates an unforgettable dining experience that will have everyone asking for seconds.
- Picture-perfect presentation with vibrant colors makes this dish absolutely Instagram-worthy and guaranteed to impress any dinner guest.
- Incredibly versatile recipe that works beautifully for weeknight dinners, meal prep, special occasions, or even outdoor entertaining sessions.
Perfecting Cast Iron Skillet Apple Pie Cooking Process
Begin by preparing your dough and chilling it while you slice the apples. Focus on making the filling while the dough rests, then assemble and bake for the best timing and flavor development.
Add Your Touch to Cast Iron Skillet Apple Pie
Feel free to customize your Cast Iron Skillet Apple Pie by using different apple varieties or adding nuts and raisins for extra texture. You can also swap out cinnamon for nutmeg or brown sugar for maple syrup to create unique flavor profiles.
Storing & Reheating Cast Iron Skillet Apple Pie
Store leftover pie in an airtight container in the refrigerator for up to five days. Reheat individual slices in the microwave for about 30 seconds, or warm the entire pie in the oven at 350°F until heated through.
Chef's Helpful Tips for Cast Iron Skillet Apple Pie
- This professional-quality Cast Iron Skillet Apple Pie relies on precise timing and temperature control to achieve restaurant-standard results consistently.
- Master the art of mise en place by prepping all ingredients beforehand, ensuring smooth execution and preventing any last-minute cooking disasters.
- The secret lies in layering flavors throughout the cooking process rather than seasoning only at the end for maximum depth.
- Pro tip: let the finished dish rest for optimal texture and flavor development before serving to hungry guests waiting eagerly.
Having baked this delicious pie countless times, I remember the first time I served it to friends. Their delighted expressions made all the effort worthwhile—a true moment of joy that still warms my heart.
FAQs About Cast Iron Skillet Apple Pie
What is Cast Iron Skillet Apple Pie?
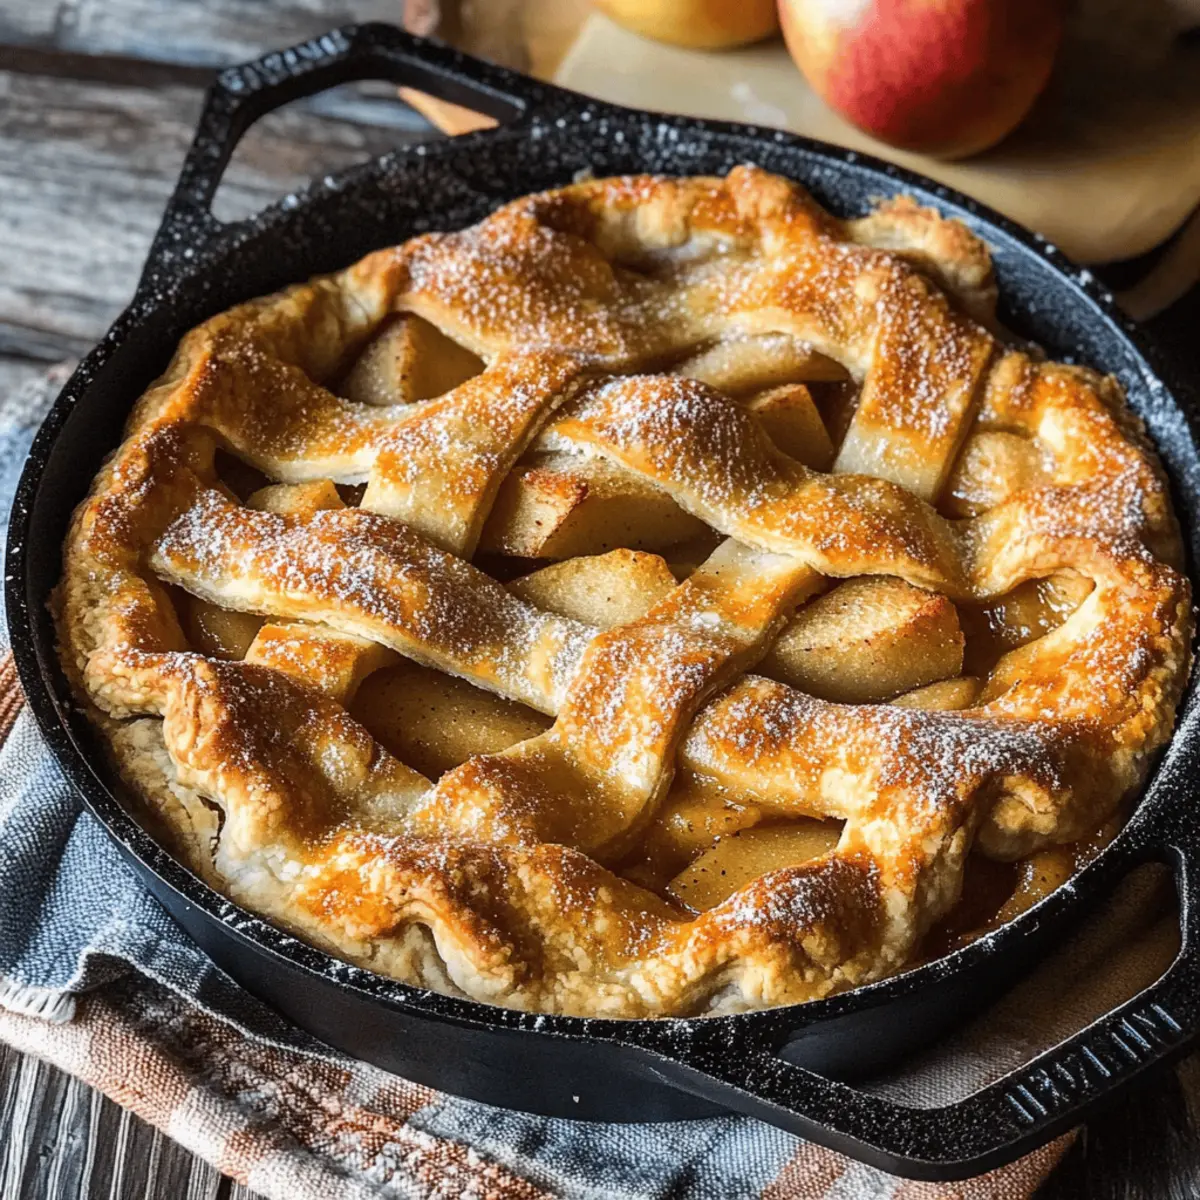
Cast Iron Skillet Apple Pie is a delectable dessert that combines a buttery, flaky crust with a luscious apple filling, all baked to perfection in a sturdy cast iron skillet. This pie showcases a harmony of sweet and tart flavors, typically using a mix of apples like Granny Smith and Fuji. The cast iron skillet not only enhances the pie’s presentation but also ensures even cooking, resulting in a golden, crispy topping and tender apple slices. It’s a perfect dish for gatherings, family dinners, and cozy evenings at home.
How do I store leftovers of Cast Iron Skillet Apple Pie?
To store leftovers of Cast Iron Skillet Apple Pie, allow the pie to cool completely before placing it in an airtight container. It can be kept in the refrigerator for up to five days. If you want to enjoy that freshly baked warmth days later, simply reheat individual slices in the microwave for about 30 seconds or warm the whole pie in the oven at 350°F until heated through. Proper storage helps maintain the pie’s texture and flavor, allowing you to indulge in this delightful dessert even after the initial serving.
Can I customize my Cast Iron Skillet Apple Pie?
Absolutely! One of the joys of making a Cast Iron Skillet Apple Pie is its versatility. You can use different apple varieties to suit your taste—think honeycrisp or braeburn for a sweeter pie, or add some spice with nutmeg in lieu of cinnamon. You can also incorporate additional ingredients like chopped nuts or raisins for extra texture. Explore flavors by replacing brown sugar with maple syrup or by adding a splash of vanilla extract for a richer taste that will elevate your pie to the next level.
What is the best apple combination for Cast Iron Skillet Apple Pie?
For the ultimate Cast Iron Skillet Apple Pie, it’s best to use a blend of both tart and sweet apples. A classic combination includes Granny Smith for their tartness and Fuji or Honeycrisp for their sweetness. This variety ensures a complex flavor profile, making the pie deliciously balanced. A mix not only enhances flavor but also provides varied textures that contribute to an irresistible bite. Experimenting with different apple types can lead to delightful new favorites, perfect for customization.
Conclusion for Cast Iron Skillet Apple Pie
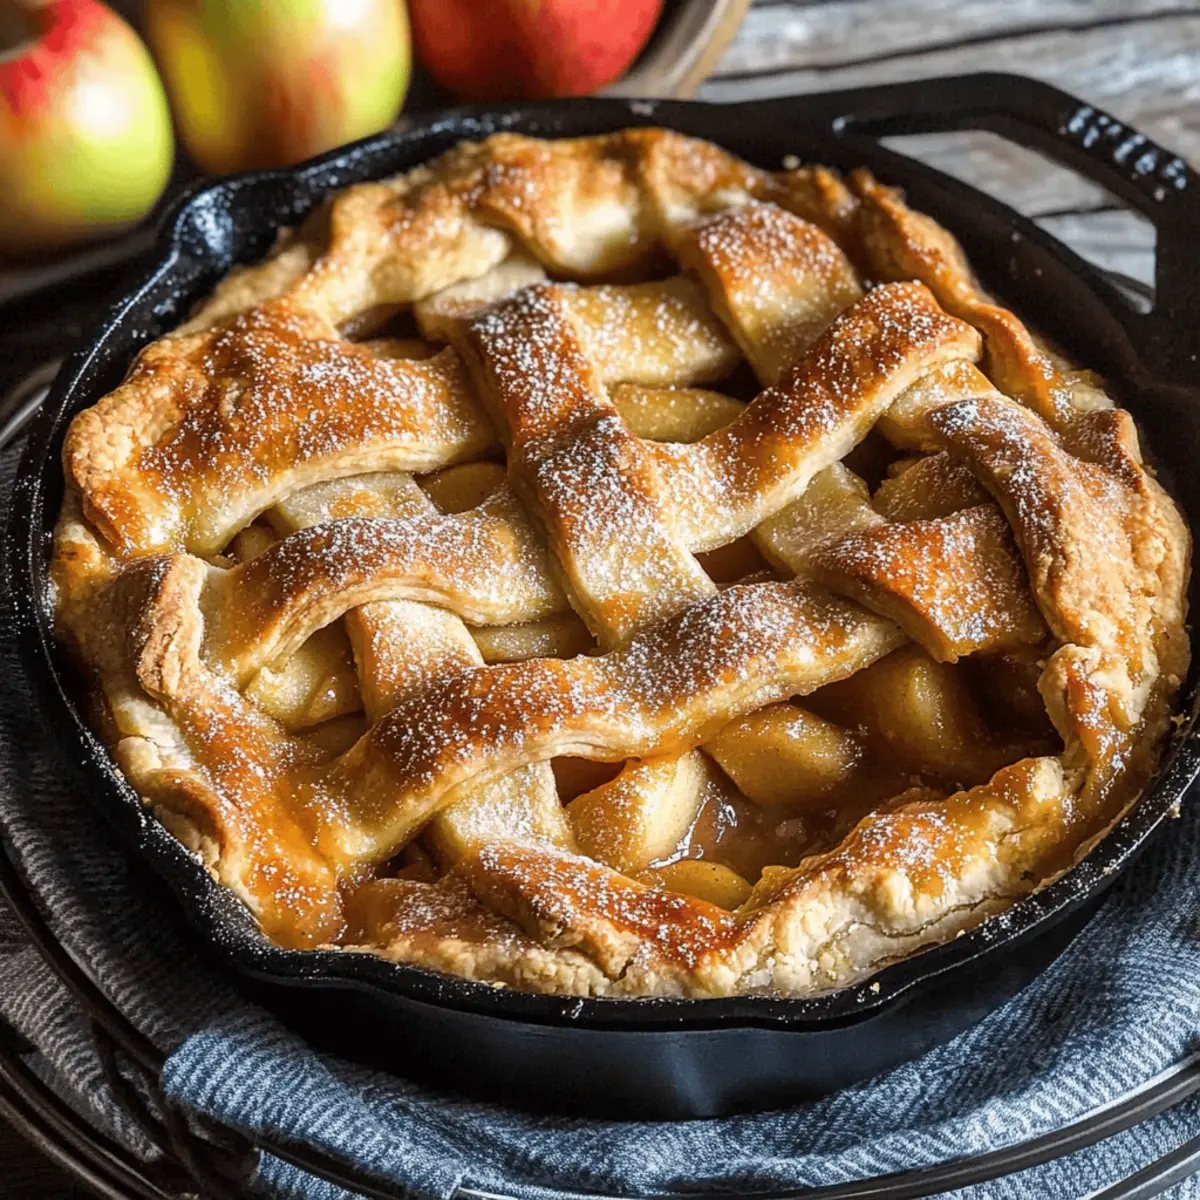
In conclusion, the Cast Iron Skillet Apple Pie is a charming dessert that marries tradition with convenience, creating a showstopping dish for any occasion. The delightful mix of sweet and tart apples combined with a crisp, crumbly topping brings nostalgia and warmth to every bite. Whether it’s for a family gathering or simply a cozy night in, this pie is sure to impress. With tips for customization and storage, you’ll find this recipe not only straightforward but also a crowd-pleaser that showcases the magic of homemade cooking.
Delicious Cast Iron Skillet Apple Pie with Crumb Topping Recipe
Ingredients
Equipment
Method
- In a large bowl, mix the flour and salt. Add the butter and work the butter into the dough until pieces are roughly the size of peas. Stir in the ice water a tablespoon or two at a time, just until the mixture forms a workable dough. Turn the dough out onto a lightly floured surface and press into a round. Chill in the refrigerator for at least 30 minutes or up to 1 hour.
- Rinse, peel, and core the apples. Cut into slices about ¼ inch wide and transfer to a large bowl. Add the flour, cinnamon, lemon juice and zest, brown sugar, and salt, and mix to combine.
- In a medium bowl, mix the flour, granulated sugar, brown sugar, cinnamon, and salt. Add the butter and work into the flour mixture until it resembles coarse sand. Chill in the refrigerator until ready to use.
- Heat the oven to 400°F. On a well-floured surface, roll the crust to about ⅛ inch thick. Transfer to a 12-inch cast-iron skillet. Unroll and lightly press into the edges, trimming the edges so they are flush with the rim of the skillet.
- Pour the apple filling into the crust. Top with the crumb topping, mounding in the middle and lightly packing it down over the apples.
- Bake for about 30 minutes, until the top is golden brown. Reduce the oven temperature to 350°F and continue to bake for 40 to 45 minutes more, until the apples are tender when pierced with a knife. If the topping is browning too quickly, cover the pie with foil.
- Let cool until warm or room temperature.